Section Navigation

Introduction
Using the game Lightbot, students will learn how to create step-by-step instructions used in procedural writing. Lightbot is an introductory coding game that provides opportunities for students to understand how computers follow instructions. Lightbot introduces basic coding including loops, algorithms and sequencing.
Learning Goals:
By the end of the module students will understand procedural writing, recursive loops and how to problem solve when codes run in unexpected ways.
Vocabulary:
Algorithm - a set of rules that perform a task when followed
Loop - a part of a program that repeats itself
Procedure - code that carries out a specific task; it works like a program inside a program
Guiding Questions:
- Has anyone heard of an algorithm?
- Has anyone followed a recipe to make food? A recipe is an algorithm.
Curriculum Links:
This module provides an opportunity to address curriculum expectations in the Grade 3 through 6 Science and Technology and Language Arts curriculum. In particular, students will have an opportunity to use procedural writing by writing a set of instructions in a non-computer activity.
Materials
- Whiteboard or chalkboard
- Markers or chalk
- Lightbot – Download Lightbot
Non-Computer Activity
This game demonstrates that computers require very specific commands in order to complete tasks. In this game students explain to the teacher (who will pretend to respond like a computer) how to draw a smiley face on the board. It is a deceptively simple game that, with a sense of humor, can be a fun and silly way of showing that computers do not interpret intentions, but require step-by-step instructions to complete a task.
Some things that may happen when students begin giving instructions to the teacher to draw a happy face:
- Initially, several students may make suggestions at the same time. The goal is to establish a way to deliver one instruction at a time.
- Students might say “draw a circle” without considering the teacher is standing with their back toward the board. The teacher could respond by drawing a circle in the air, which would cause the students to realize they missed a step, and need to first instruct the teacher to turn around, walk toward the board, remove the marker cap, etc.
- Students might say “draw two dots inside the circle” without specifying where, then realize they need to come up with a way to specify position.
Continue in this way, with the teacher following their instructions exactly as stated, and demonstrating how you cannot make any assumptions with a computer, that it doesn’t know what you mean, only exactly what you command it to do. No more. No less.. Each time an appropriate step is identified, record the instruction so that there is a clear algorithm for the task at the end.
A teacher can repurpose this same idea to have students explain anything to them. Perhaps a physical game that many are familiar with, such as Octopus or Tag. Even something as simple as ‘walk from point A to point B’ can be quite humorous when the teacher demonstrates how a computer would interpret those instructions.
After this activity, prompt a conversation about the differences between giving instructions to a human versus a computer. With humans we can rely on certain assumptions and common knowledge that computers don’t understand. We need to program computers using concise instructions in a language they understand.
Computer Activity
Give students time (about an hour) to play with Lightbot. As they work through the different levels they will gain knowledge on procedural writing, loops and algorithms.
Activity
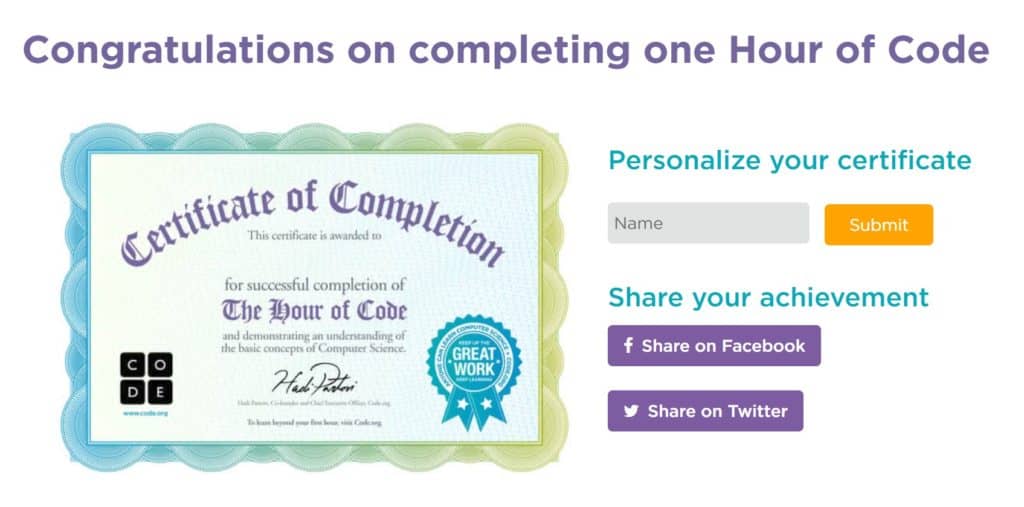
Lightbot has built in instructions that pop-up for each new level/concept. Students should be able to follow along and complete this independently.Note: If students complete the Hour of Code version (done in browser) they can print a certificate with their name on it.
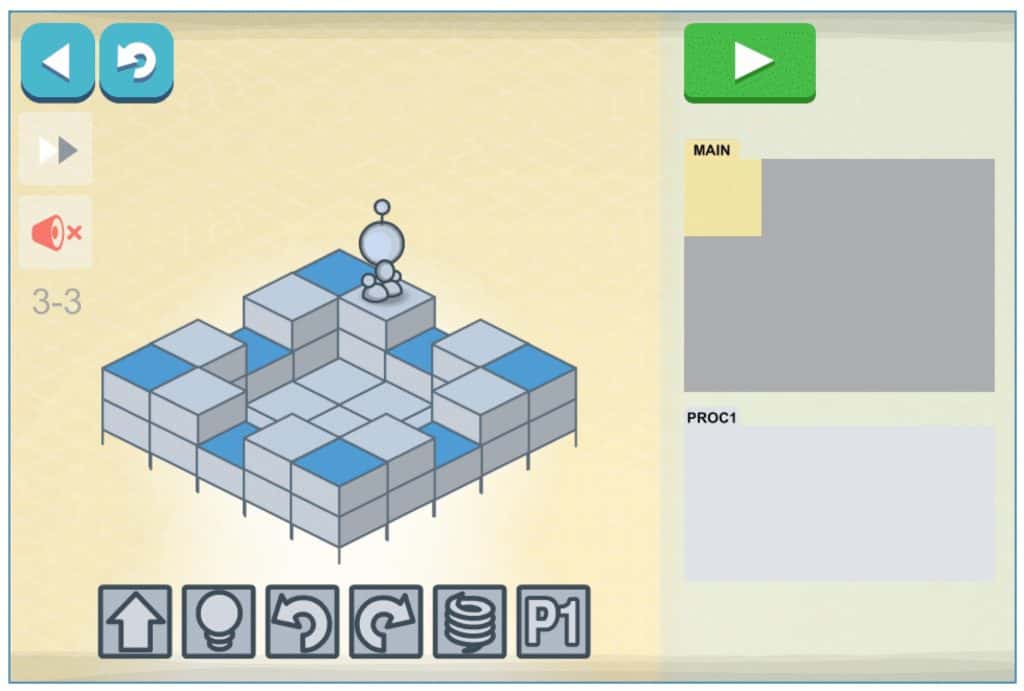
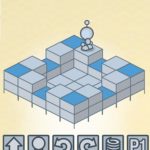
Each level has a map with blue squares. The goal is to move the bot around the map to light up the blue squares. The commands to move your bot are at the bottom of the screen and include move forward, light, turn left, turn right, jump, and P1 (which stands for “Procedure 1”). On the right are windows to place the command blocks in. For this level we have PROC1 which is accessed by the P1 command. This is where you can code repetitive actions. To call on the blocks placed in PROC1 window, add the P1 block to the Main code window. In the browser version of Lightbot is a button at the bottom of the screen when you are done your “Hour of Code”. This opens a page where you add your name to your certificate. Then you can save and print the document. Congratulations on completing your “Hour of Code”!
Conclusion
End the module with a class discussion about the students’ experience programming in Lightbot.
- How did you come up with a solution to a new level? All in one step? Or one step at a time?
- If your bot did not move the way you intended, how did you find the error and fix it?
- How did you determine what parts of your program could to be repeated?
Resources
- The Hour of Code website has projects for all ages on a variety of themes
- A quick walkthrough video of some levels in Lightbot
- An explanation of how Lightbot teaches programming