Overview
Today we will be creating pixel art using a program called GraphicsGale. You can download this program for free by following the link below.
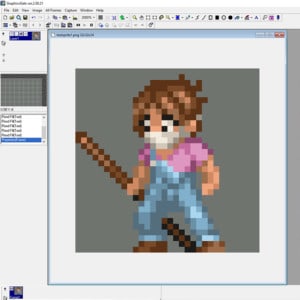
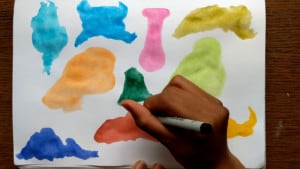
In the Blob-art Challenge we explored shape, color, and texture. This time I would like to invite you to turn your work into digital pixel art.
Background Information
What is a pixel? Well, pixels are nearly everywhere! Everyday we see millions of pixels. Your TV, computer, and even your cellphone all use digital displays (or screens) that show us information in the form of images or video. The images we see on the screen are actually made of millions of teeny-tiny pixels. Pixels are the smallest unit in a computer-displayed image. They are so small that you can’t see them individually. If you could see them individually, they would probably look something like this:

The number of pixels in a display describes the resolution of a screen. The more pixels in a display means the more information you can show. Today, we are used to seeing higher resolution images.
Consider these Mario sprites:
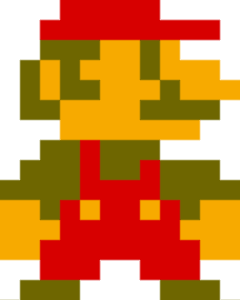
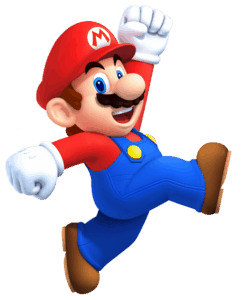
The first image is an 8-bit version of Mario from the early video game consoles. He is small, blocky, and only has four colors. He doesn’t have very many features because early computers couldn’t store nor display many pixels.
The second picture of Mario has many more pixels and much more detail, therefore giving him a smoother look.
Pixel art is a style of digital art that we can use for fun by using a limited number of colors and simple shapes. Back in the early days of computers, video game artists relied on pixel art because it was the only way to display graphics. Early computers couldn’t store a lot of information, therefore they could only display low-resolution graphics. Today we have improved our computers to store and display much more information so we no longer need to rely on pixel art (but we can still use it for fun!)
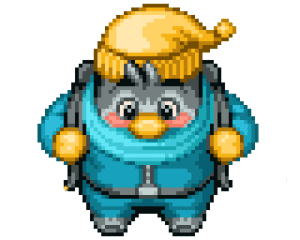
When we use pixel art to make characters, we call these characters sprites.
Now that we know all about pixels, let’s start making some sprites!
Materials
Step By Step Instructions
Step 1
Open up GraphicsGale by double-clicking the icon.
Step 2
Open up a new file by clicking File, New at the top left corner of the screen

Step 3
A dialogue box will appear that will ask you to set the dimensions of the page, set it to 32 x 32. This means the page will be 32 pixels wide by 32 pixels tall. Once you have that input, press OK. This will open a window with our workspace.

Step 4
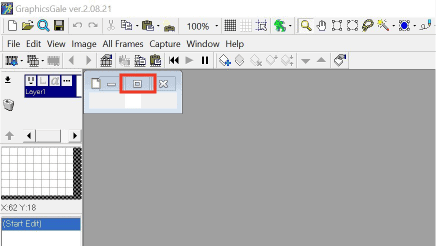
Now our window is really small. Click Maximize to make it bigger.
Step 5
You should see a tiny white box in the middle of your screen. This is still too small to work with, so we will increase the magnification by clicking where it says 100%. We want to magnify our page to about 1500%.
Step 6
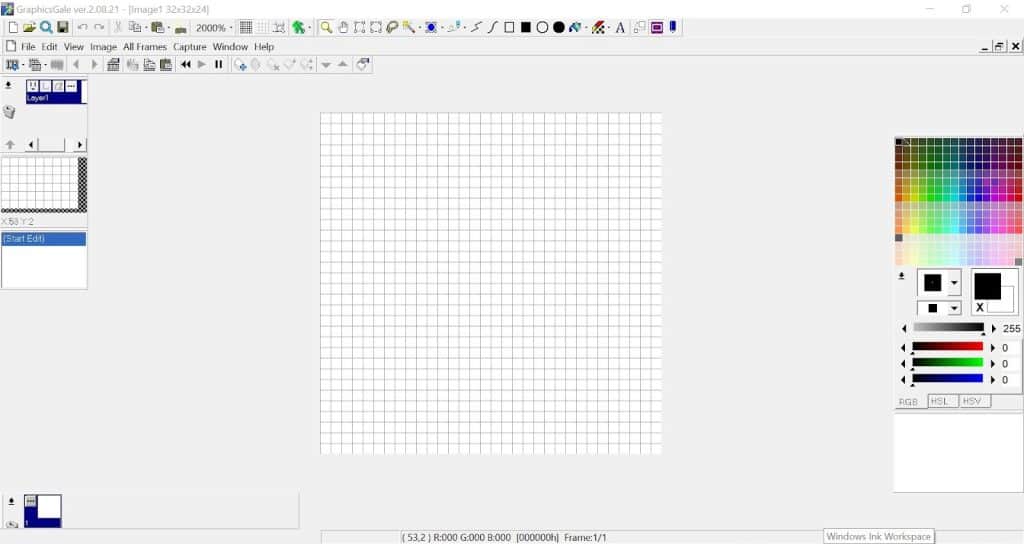
Now you should have a bigger, white box. Click the Show Grid button. This will help us visualize the pixels!

Step 7
The pen tool lets us draw using any color selected by using the color selector pane to the right of your screen. If you click once anywhere on your workspace, you will draw one pixel. If you click and drag your mouse you can draw a continuous line of pixels.
There is no eraser in GraphicsGale, however, you can just select a color and paint over any pixels or you can press the Undo button. Pressing the Ctrl key and then the Z key on your keyboard will also undo your last action
To start, let’s try to draw an emoji!
Step 8
Drawing circles pixel art style can be tough. Select the circle tool to make a circle. Click and drag your mouse to make a circle, then let go once you have a big enough circle.

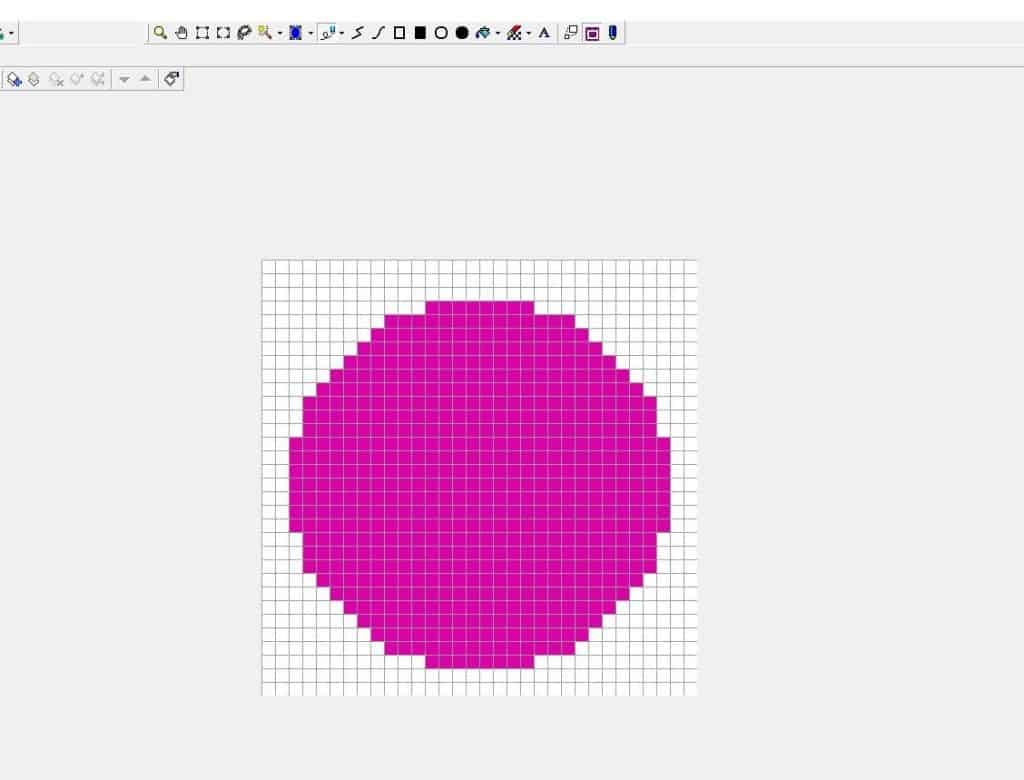
Step 9
Great job! Next we should add some features. I will use the Pen Tool to draw this emoji’s eyes and mouth. First I will select a new colour. I will add some yellow heart eyes by drawing the individual pixels.
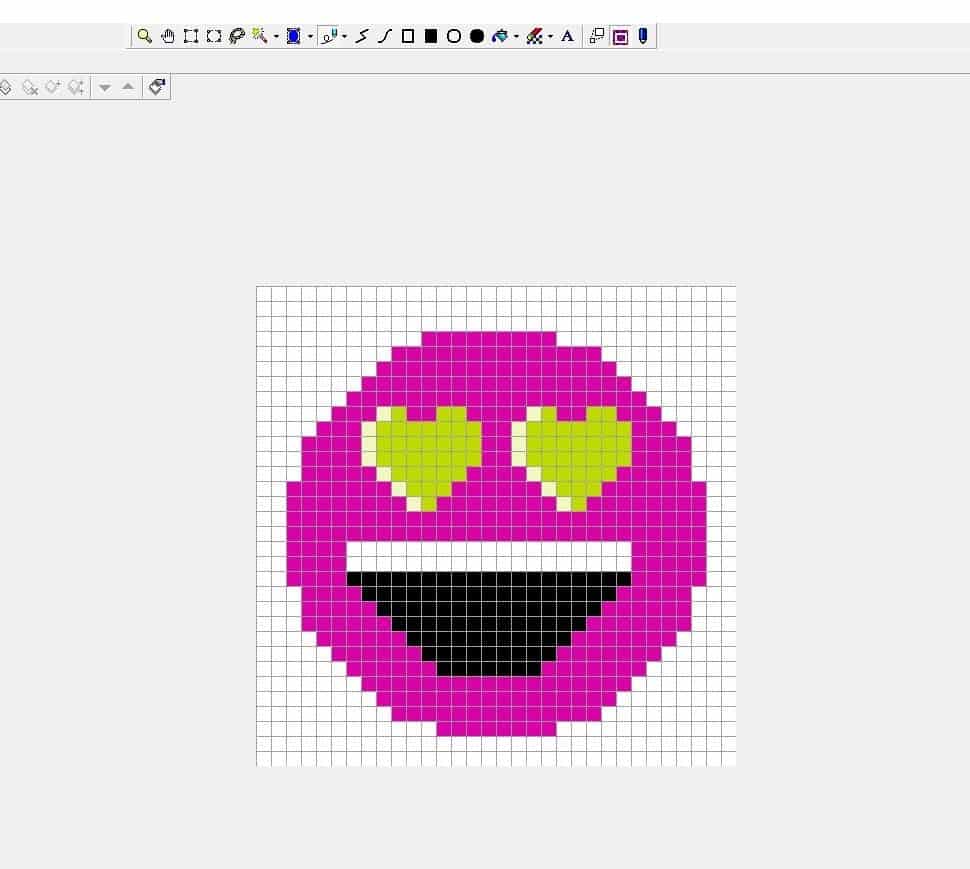
Here’s a Pink pixel emoji with yellow heart eyes and an open-mouthed smile!

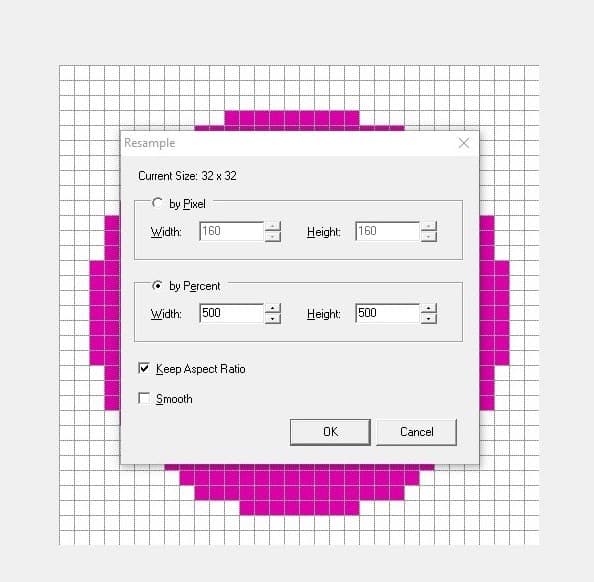
Right now our emoji is really small. So before we try and export it as an image, we first need to go to All Frames, Resample. A dialogue box will open and we will resample the image by Percent. In the first text box next to Width we will enter 500. This should automatically adjust the height. Below there are two checkboxes. Uncheck Smooth and click OK.
Step 10
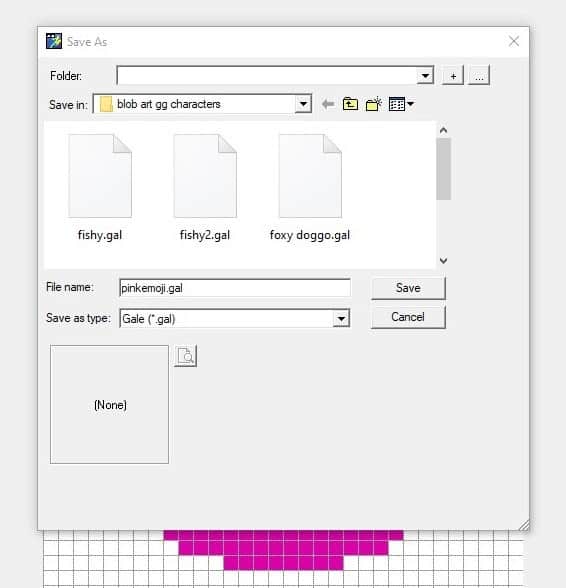
Now you can save it to your computer. Like we did before, go back to the top-left corner and click File, Save As. I entered the file name pinkemoji. Click Save and your emoji will be saved as a Gale file. This type of file can only be opened using GraphicsGale and will allow you to go back to your work if you wish to keep working on it.
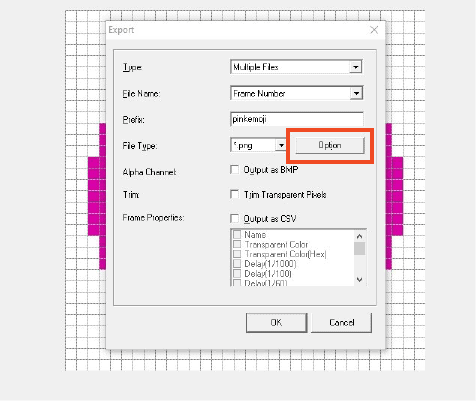
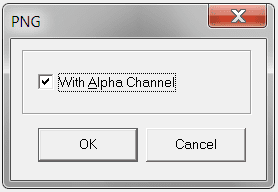
We want to save our file as a PNG image. This will make our background transparent when we use it as an image. We will go back to File, Export. This will open up a dialogue box where we will enter a name next to Prefix. We want the background to be transparent, so we will click Option and check the box With Alpha Channel then press OK.
Great Job! We have created a Pixel art emoji and saved it as an image. You can share your custom emoji on social media or even add some code in Scratch!


