

First Steps Into Blender
At the beginning of the video a default version of the modeling software is opened. A large portion of the user interface (UI) is not completely necessary to operate blender. In fact for most of what we will be doing we can eliminate all of the surrounding UI and focus primarily on the Viewport.
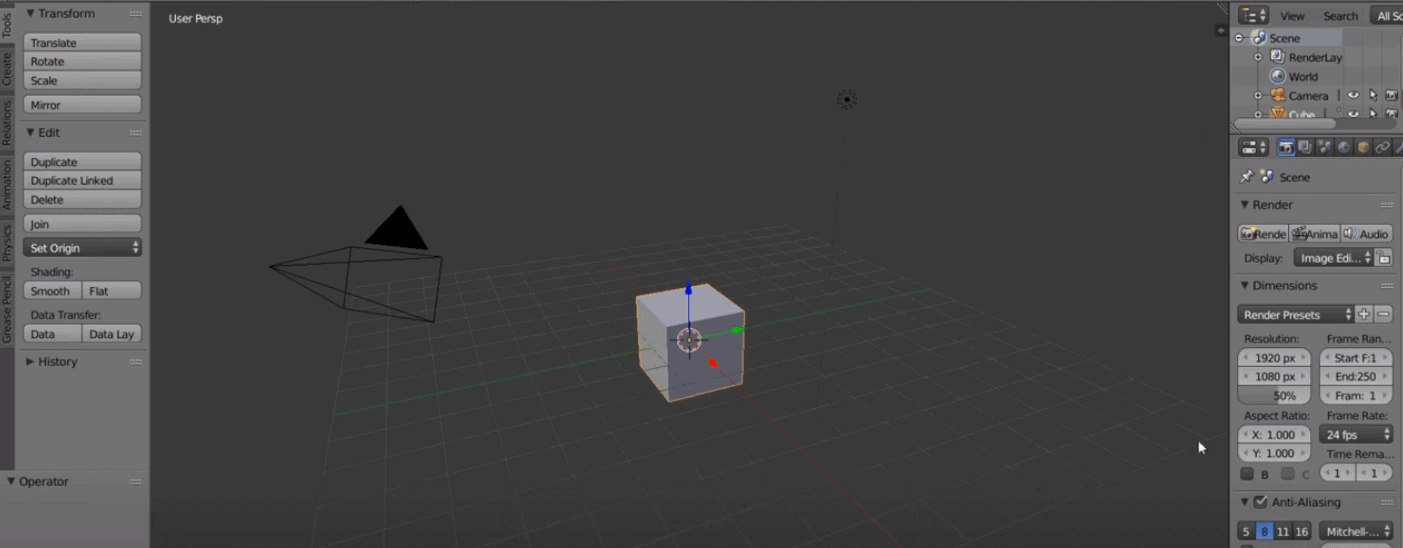
The Viewport is where, as a 3d modeler, most of the magic happens. In this space we can travel along all 3 axes and see objects from any angle we desire.
Then we move onto the classroom description. With each episode a scene has been built in the viewport. One section of this scene will contain all of the hotkeys for that lesson. Those hotkeys will carry over into the next lesson so that you may refer to them as we move along. For some lessons there will be up to 3 different colour coded sections. The blue one usually has some storytelling and a bit of fun for the scene. The red one will be a work area that also includes some step by step instruction of what you are to accomplish. And finally the green section will be something I have created from the assets available to you.
Now we’re going to change some settings in blender. Ideally for students this will be done beforehand so they can dive right into the fun. You can either go to File>User Preferences or press Ctrl+Alt+U to bring up the User Preferences window. On the top menu select the Input tab. On the left side of the window press the checkbox that says Emulate NumPad. This will move any of the hotkeys associated with the number pad of a keyboard to the top row of numbers. As some laptops we use don’t have number pads this is ideal.
To make sure everyone is using the same hotkeys I have created a hotkey list that we will import into Blender. On the bottom of the screen press the button that says Import KeyConfig and a new window will open up. Then search for where you saved the hotkey list I created. It should be called Class_2020_KeyConfig.blend.py. You can either double click or press Import Key Configuration in the top right corner of this window. You’ll be back at the User Preferences window again and in the bottom right corner of this window press the Save User Settings button.
For later use in this series we need to turn on one of the plugins in the Add-ons tab. If you click that tab on the top of the User Preferences window in the top left corner of the window there is a search input box. Type in ‘images’ into the field and the plugin ‘Import-Export:Images as planes’ should show up. Press the box to get a checkmark to appear and again press the Save User Settings button.
Now Blender will open with these settings every time we open it on the computer that the settings were adjusted.
- Thank you Kerusu on SoundCloud for sharing this great track!