Getting started with Blender and learning how to navigate and apply its tools for the purpose of designing a custom set of dice for printing in 3D.

- First Step into Blender / Class Tour
- Blender can do so much, lets narrow our focus. I’ll go over what we need and what I am getting rid of from a first opening point of view. Then we’ll see how most working scenes will be displayed. We will go over what adjustments I have made for those just starting out with 3D Modeling. Things like hotkey remapping and turning on add-ons to help us in the long run.
- Blender Print-a-Piece 2: Viewport Scavenger Hunt
- Moving through the 3D viewport using a mouse and keyboard. We’ll learn about orbiting panning and zooming. Once were more comfortable with these ways of moving we can try and find all of the emojis I hid in the scene.
- Bender Print-a-Piece 3: Meet Stuart
- Learn how to select and use the pivot point to translate and rotate Stuart into yoga positions. Stuart has been rigged so that we can bend and shape him almost however we want. Then using our powers of time travel to position him back to his original pose.
- Blender Print-a-Piece 4: Rebuild A City
- Reinforcing translation and rotation of objects by making a playground for a giant dinosaur. Some premade objects are laid out before you like buildings and cars as well as some fire and smoke effects. We can also bend and shape our giant dinosaur friend
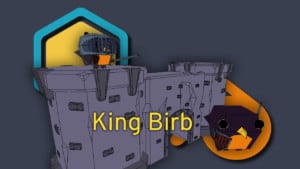
- Blender Print-a-Piece 5: King Birb
- We’ll use scale to resize some premade objects in the scene. The Duplicate hotkey will create clones of the selected objects and the Join hotkey will let us group objects so they are easier to transform. With these new skills a mighty fortress can be constructed
- Blender Print-a-Piece 6: Anatomy of a Mesh
- Enter EDIT MODE in Blender. In this mode we can see the elements of a mesh. These elements can be used to manipulate objects into looking entirely different from the where they started.
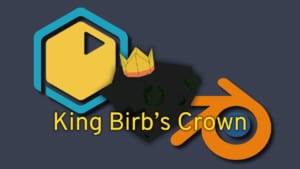
- Blender Print-a-Piece 7: King Birb’s Crown
- In Edit mode we’ll explore using vertex elements to forge a crown fit for our Liege. We will also open up the Properties tab for the first time. There we can customize the colours of the object to our Excellencies taste.
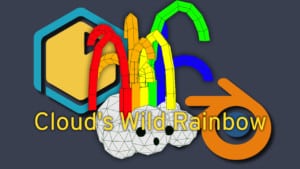
- Blender Print-a-Piece 8: Cloud’s Wild Rainbow
- Using the face element and extrusion tool to Bend light to our will. Further exploring our abilities and using the bevel tool to add in some nice curves.
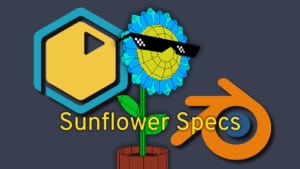
- Blender Print-a-Piece 9: SunflowerSpecs
- We can add objects to our scene and use the knife tool to create new edges on that object. We will utilize these new tools to dress up our flower buddy.
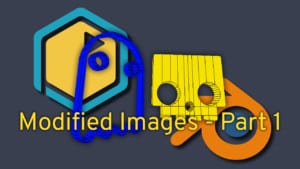
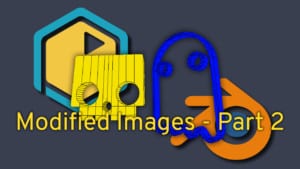
- Blender Print-a-Piece 10 Part 1 & Part 2: Modified Images
- Import an Image for tracing and then apply a modifier to adjust our mesh for use with our Dice. Then exporting it for use in another file.
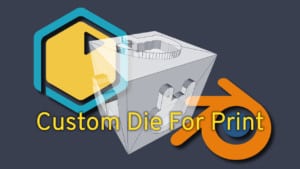
- Blender Print-a-Piece 11: Custom Dice for Print
- There are 2 ways of going about making dice. Some example objects exist in the scene or you can take your time and create your own. Then we’ll employ a Boolean Modifier to cut into our die and export them for print.