Section Navigation

Introduction
While sprites tend to get all of the attention, forming the core interactive elements of 2D games and software, tilesets provide the framework for those sprites to exist in. They generally comprise the bulk of a game’s graphical content. Tilesets, a collection of the tiles within a program, allow developers to create expansive in-game areas with a minimum of visual assets by essentially copying and pasting from the available tiles.
Seamless tiling, made by matching up opposing edges of tile, allow a developer to cover large areas in similar tiles and disguise the fact that tiles are being placed and reused in a predictable grid-like pattern. Even 3D games will use similar techniques when texturing environments, so being able to create seamless, tileable images is quite valuable.
In this module students will learn the basics of tile creation using the pixel art skills acquired in modules 1 and 2.
Background
Here are a few examples of simple tiled backgrounds in different perspectives:
Side-Scroller:
Top-Down:
Isometric:
Each of the above examples comes from iterations in the same game series. The side-scroller images show screenshots from Konami’s Castlevania series, first from the 1986 NES version, then the 2005 Nintendo DS version. The top down images show SquareSoft’s Final Fantasy for NES (1987) and Final Fantasy III for SNES (1994). Finally, the isometric images are from Data East’s Shadowrun for SNES (1993) and Harebrained Schemes spiritual successor Shadowrun Returns for PC (2013).
Each instance shows how an increase in graphical processing power allows more detailed, visually interesting graphics, while background assets are still being reused as modular pieces. The more modern games will often use variant tiles, tiles copied with slight variations, to minimize the appearance of repetition.
Learning Goals
Students will learn about the function of tiles within a game and how to create their own. Building on techniques acquired in previous modules they will build important game framework tiles. Students will also learn how to work with layers and transparency within the image creation software GraphicsGale.
Vocabulary
Tile - A modular graphic used to construct scenic elements in a game.
Tileset - A full group of tiles containing all of the scenic elements for a game or a game section.
Seamless Tiles - A tile, or group of tiles, which are placed adjacently without any visual indication where one ends and the next starts.
Layer - A transparent “level” in a graphics editor file which allows separate images or elements to be created and manipulated in the same canvas space, without affecting the other elements.
Permutations - A set of variant tiles within a tileset that allow for multiple arrangements.
Guiding Questions
- What is a “modular component”?
- What real life products use modular components? (ex. Lego, building blocks, scale models, train/track sets, etc.)
- What are some benefits of modular design?
Curriculum Links
This module aligns with Art, Computers, and Technology curriculums through the learning of new software and ways of creating graphical game elements.
Materials
- GraphicsGale – Download GraphicsGale
- Tileset Printout – Download Assets Folder (ZIP)
- Scissors
- Glue and blank paper (optional)
Non-Computer Activity
Cut-n-Paste Dungeon
Most 2D games use modular tiles in a variety of permutations to build a wide variety of environments while using a minimum of actual assets. Included in the resources for this module is a printable page of a simple tileset for a dungeon floor.
To illustrate the versatility of tilesets, cut out the tiles and use them to make a simple dungeon map. Glue the paper tiles in place on a scrap of paper or simply arrange carefully on a hard surface. Not all of the tiles have to be used. For students working in a group, tiles can be combined or traded to create larger or more elaborate maps. After everyone has completed their map, share it to showcase just how versatile a simple tileset can be.
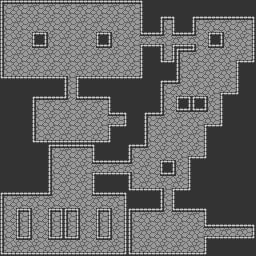
Here is the base tileset:
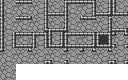
Here is an example of what you can build using it:
Computer Activity
Making Basic Tiles
Using tiles is the predominant method of creating environments in 2D games. Working with our character sprite from the previous lesson, we will create a series of tiles to create an environment where our character sprite might live. We will start by making stand-alone tiles.
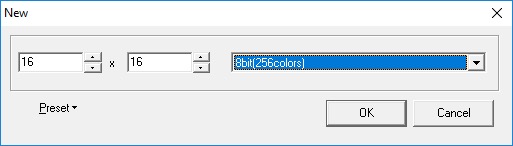
Begin by opening GraphicsGale and creating a new file (CTRL+N) with a 16×16 canvas. Set the colour mode to “8bit(256colors)”.
Click the large square in the upper right of the new canvas to maximize it and use the Magnification drop-down to zoom in to 2000%. Click the Grid icon in the toolbar to toggle the grid on or off.
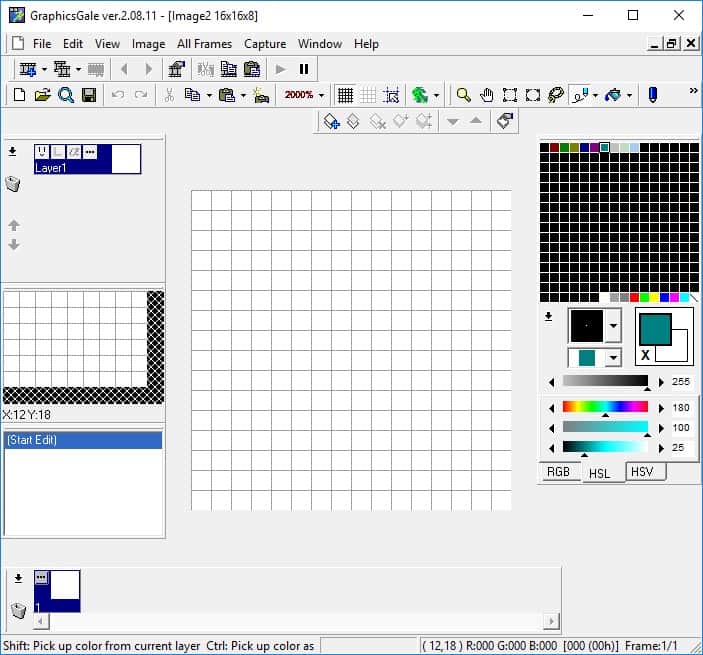
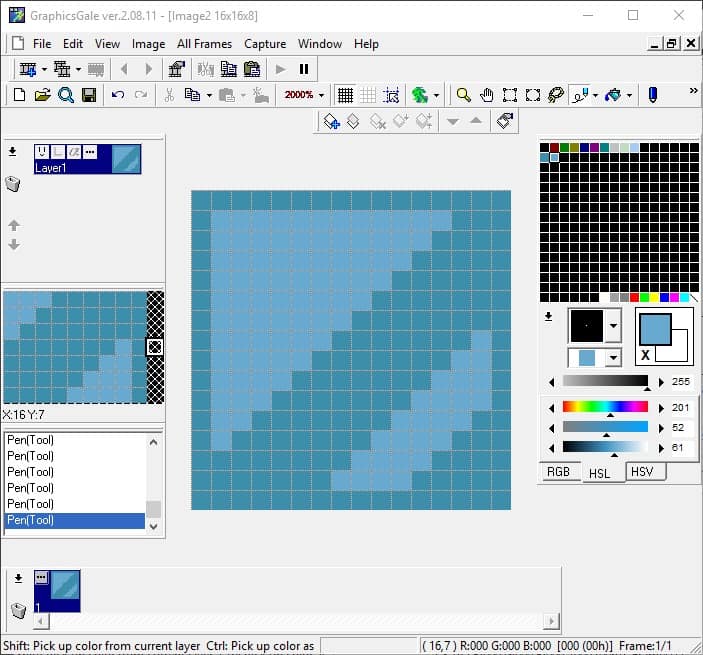
Currently, we have a very limited palette of colours on the right. The black squares are currently unassigned palette blocks where we can add our own colours. Click one of them and use the RGB/HSL/HSV sliders below to set the base colour for your tile. Think about the dominant colour of the tile you want to make and play with the sliders until you obtain that colour. Once you have your colour, choose the Fill tool from the toolbar and click anywhere on your canvas. This floods the canvas with the new colour.

We will use the colour just created as the basis for a value ramp to make a range of colours. Press CTRL+left-click on the palette square and drag it to a new empty slot. Duplicating a swatch in this way is quicker than remembering and re-entering the RGB values. Click the duplicate swatchand adjust it. Use the HSL tab to adjust the lightness slider and make a lighter tone of your base colour. Using the pencil tool, apply this lighter colour to your tile.
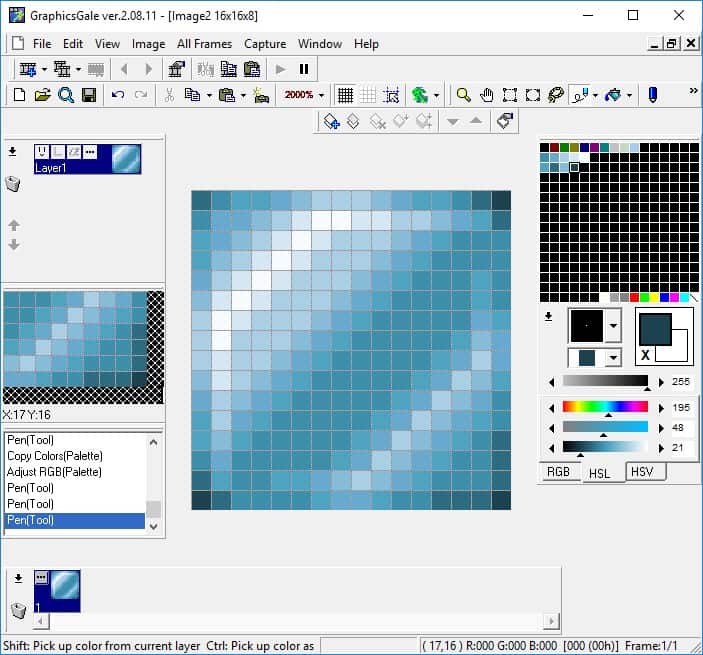
Continue adding colours, both lighter and darker, until you’re satisfied with how it looks.
Save your completed file by going to File>Save As. In the dialogue that opens, set the location you want to save your file, enter a name, and choose PNG in the “Save as type:” drop down. Then click Save.
Repeat this process a few times, until you have several tiles you can use to make a good mini-level for your sprite. Then we will work with a new file and import these tiles to make the scene.
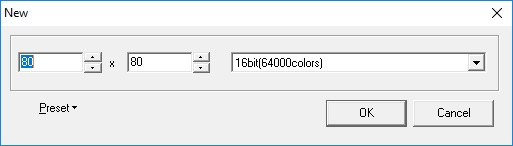
Create a new file (CTRL+N), set the size to 80x80px, and the colour to “16bit(64000colors)”. The 8-bit palettes we used earlier are smaller and easier to work with, but those colours become indexed, and the colour information and location in the palette become a part of the file. If we were to bring them into another 8-bit canvas, the colours we chose would change to accommodate the current palette, and wouldn’t appear as intended.
Maximize the screen and set the Magnification to 400%. Now we will use a new grid tool, called Custom Grid.

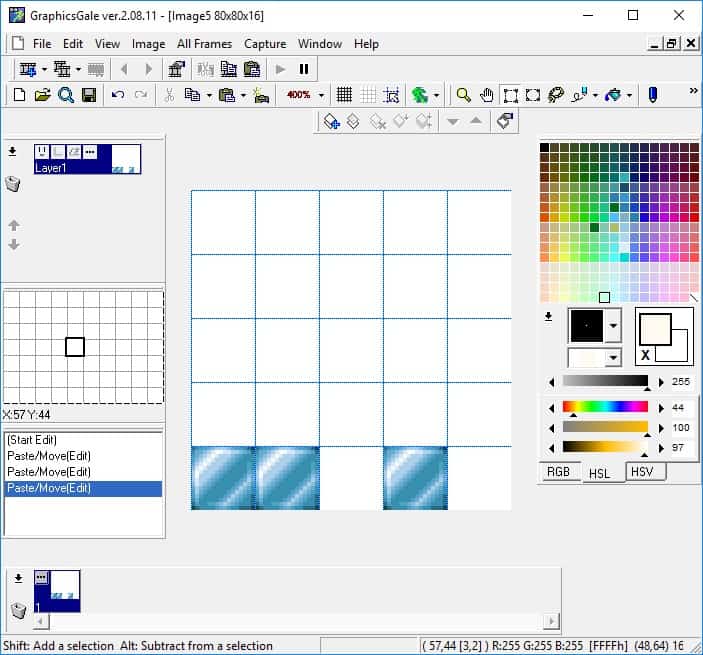
The icon is beside the Grid tool in the toolbar. Click it and select 16×16 from the drop-down. This will create a reference grid for aligning our 16x16px tiles. Import your tiles by going to Edit>Import. Select one of your tiles and click “Open”.
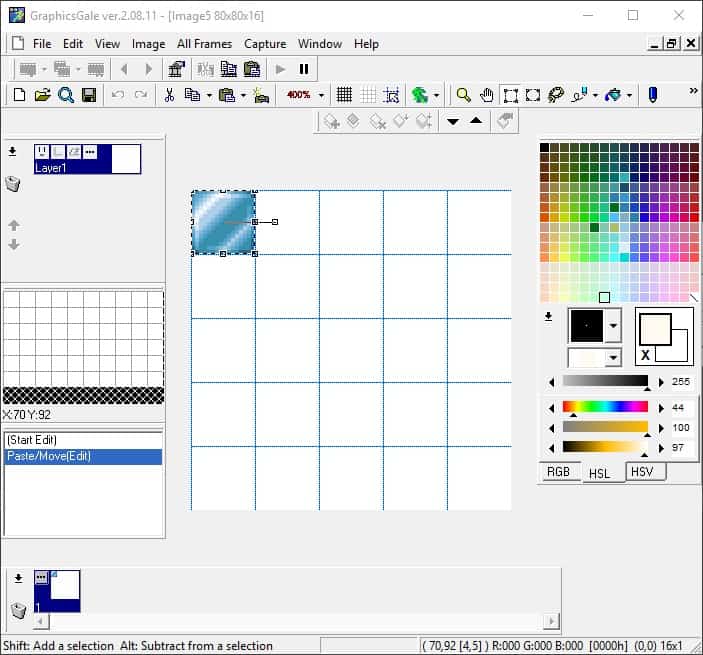
Move your cursor over the tile until it changes to a four-way arrow. This is the move icon. Left-click and drag your tile into one of the grid squares. Right-click anywhere off the tile to set it in place and deselect it.
Your cursor then changes back to a moving crosshair. To reselect your tile, move the crosshairs to a corner, left-click, and drag a square selection over it. Move the tile again if it’s selected, or press CTRL+C to copy it. CTRL+V pastes a copy on top of the existing tile. Left-click and drag to a new position, and right-click off of it to deselect and set it in place. Do this as many times as needed.
Use Edit>Import to bring in your other tiles. They will be added to the canvas in the same manner as above, and you can select, move, copy and paste them as needed. Continue until your scene is complete.
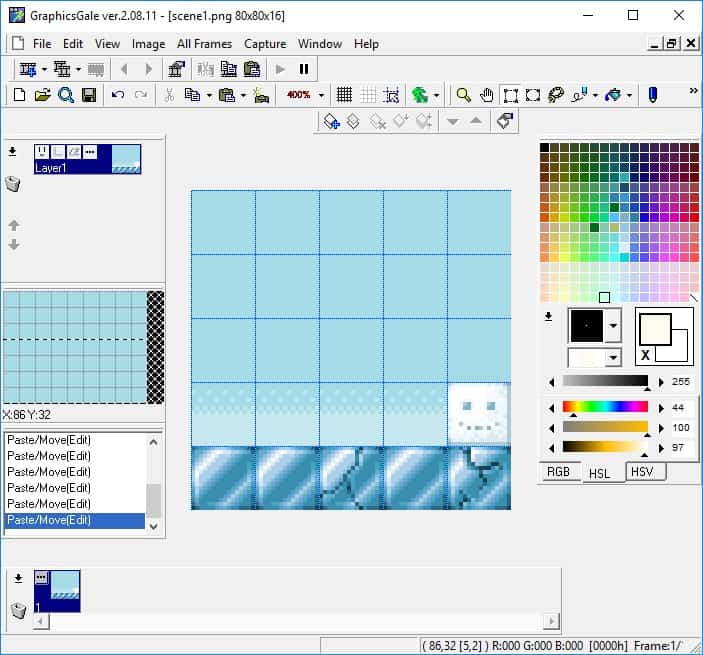
Now it’s time to bring in our sprite. We don’t want to accidentally move our tiles, so we will create a new Layer. A layer is a new canvas within the same image, that can be above or below other elements in the image. Click the Add Layer button in the bottom portion of the toolbar.

This adds a new layer to the image and “Layer 2” appears in the layers panel on the left.

The active layer is highlighted dark blue, while inactive layers are grey. Use the arrow buttons in the layers panel to move the layer up and down, but for now we want Layer 2 to be the top layer. Go to Edit>Import and find and open your sprite from the previous lesson (if you missed the Pixel Art 2 module, you can create and save a sprite, or draw directly in this layer).
Position your sprite where you’d like it within the scene, then use File>Save As to save the entire image as a PNG file. To make your image larger before you save it, go to All Frames>Resample, uncheck “Smooth” (it is generally best to always leave unchecked), set Percentage to 200%, and click OK. Save As, and enjoy your mini tile-based scene!

Conclusion
Standalone tiles are perfect for placing unique images into an environment, making interactive elements, platforms, and many other game objects. Tiles will often be collected into tilesets, where they can be stored in a single large file for a program to pull from. This makes it unnecessary to store hundreds of individual files and keeps asset files to a minimum.
Using tilesets and individual tiles are both valid ways to handle tiles in games, and ultimately depends on the program being used and the preference of the developer.
Resources
Additional Resources
- DYA Games – Platform Tileset Timelapse
- GraphicsGale Workflow Tutorial
- OpenGameArt – A World of Tiles
Social Media Resources
- PixelJoint
- Pixelation
- Reddit – /PixelArt
