
Introduction
The last Scratch Mix and Match Challenge is here! With the code from these cards, you can make a Choose Your Own Adventure style game. Scratch is a great tool to help you make video games and digital stories that you can share with your family and friends. If you are interested in developing your skills as a programmer, Scratch can help you to learn how to develop games and consider what makes a game fun to play. In each Mix and Match challenge, you are asked to use at least two of the three challenge code cards to make your game. Think of the kinds of games you like to play as you create your game. You can revisit the other Mix and Match challenges to review how to build your own game. You can start with the Mix and Match Challenge #1 here.
The colour coding used on the code blocks will help you find the code you need

Discover the three cards for this challenge
Play the Game
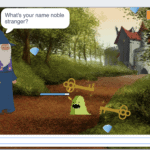
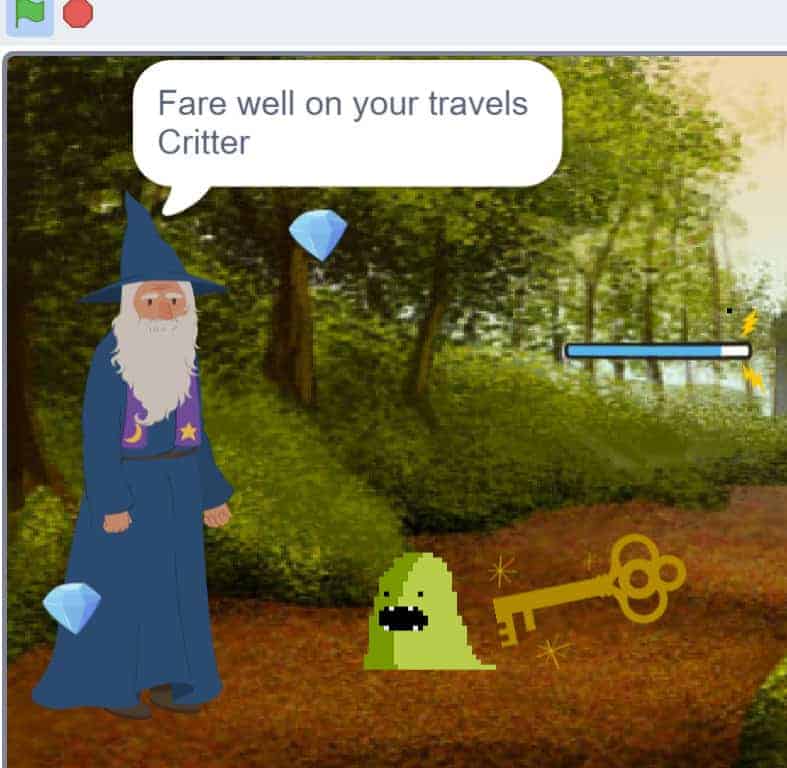
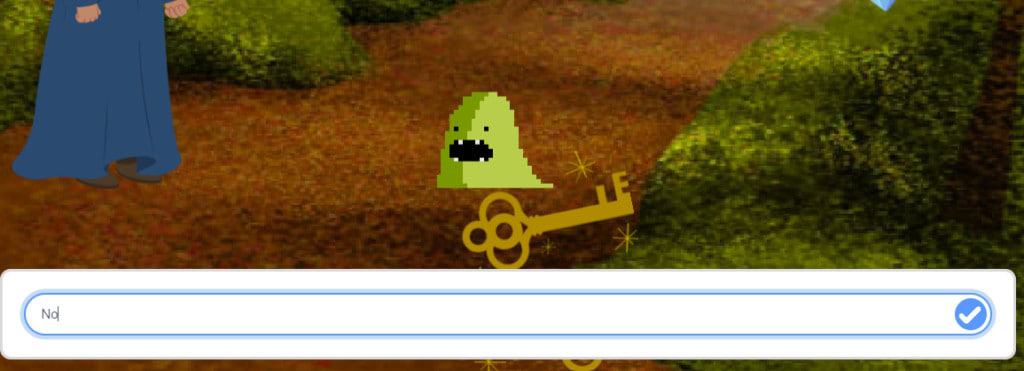
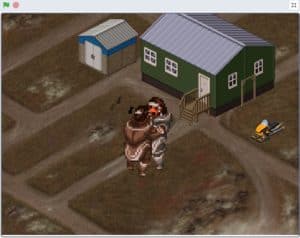
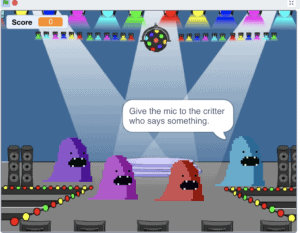
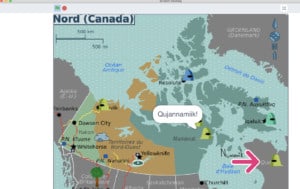
Instructions: Critter has wandered into this fantasyland from the All Together Now game where he was traveling around northern Canada looking for friends. Use the arrow keys to move Critter until the wizard grants him the ability to fly with a magic broom and wield a magic wand.
Thanks to Emma Rutherford for writing the fairy’s magic spell.
Thanks so much to Chris Haugen for his track, Hulu Ukulele
Follow Mouse Pointer
Thanks so much to Chris Haugen for sharing their track, Campfire Song
When creating a game, one of the first things to think about is how you are going to make your sprite move around. You can press keys to make your sprite move and you can have the sprite follow the mouse cursor. There are many different ways to code a sprite to follow the mouse cursor and each way will achieve a different effect. Experiment with the different ways to find the one that you like the best for your game or story.
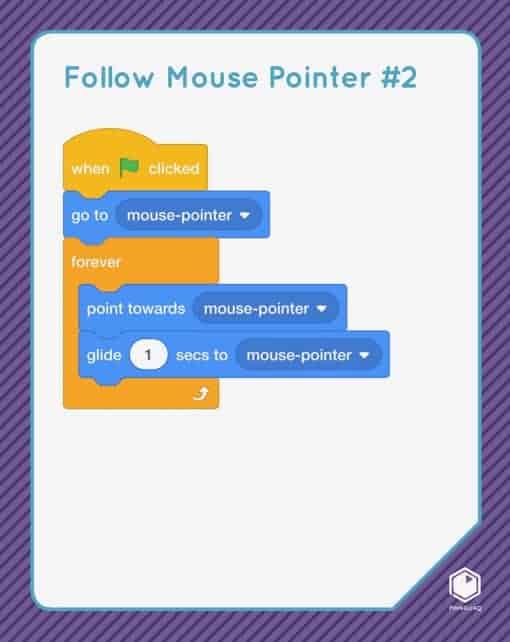
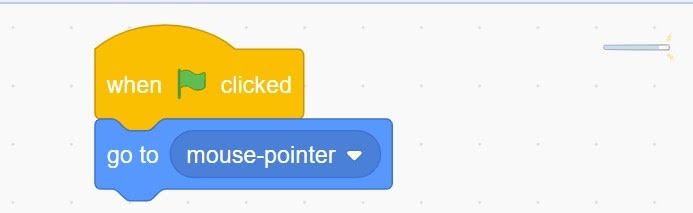
- Start your code with a yellow Events block. The block, “when green flag clicked” will run this code and make this action happen right at the beginning of the game.
- “Go to mouse pointer” block will make this sprite go immediately to the mouse pointer.
- The orange Control “forever” block tells the computer to keep running the code that is wrapped inside it.
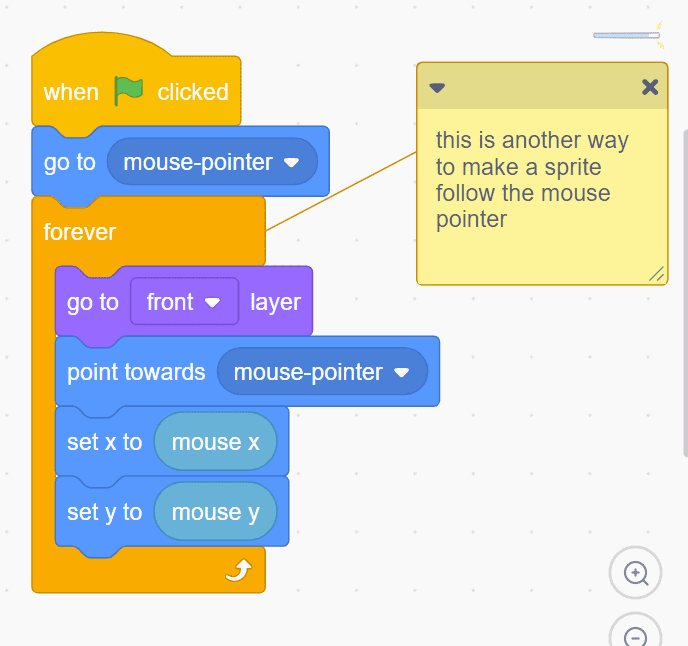
- I want the wand to be visible and to stay in the front layer so I added a “go to front layer” purple Looks block.
- The wand will continue to point in the direction of the mouse pointer so that I can aim the wand where I want with the blue Motion, “point towards mouse pointer” block.
- The wand sprite will continue to glide to the mouse pointer, no matter where I move it on the stage and in the game. Changing the number in the value bubble will change how long it takes for the wand to get to the mouse pointer. Changing the number to a smaller number will make this wand sprite move faster to the mouse pointer. Changing it to a bigger number will make the sprite take more seconds to move to the mouse pointer and so the sprite will move more slowly.

- There are many different ways to code a sprite to move with the mouse pointer. You can experiment with the codes shown on the Mix and Match Follow Mouse Pointer cards. Here is a bonus way to try.
- The starter project, Choose your own Adventure with Critter game has different ways set up for the sprites to follow the mouse pointer. Download the game to experiment and test these and remix it to create your own game.
Chatbot Giving Directions
In many games, there are characters who appear and give instructions or challenge the players during the game. To learn more about the different kinds of characters in game narratives, visit Courtney’s tutorial here. With the code shown on the Chatbot Giving Directions Mix and Match card, you can make a character give instructions to the player. You can also bring the player into the game to make the game more immersive. With this code, the player can give their input and choices to affect what action happens in the game.
Thanks so much to The Mini Vandals featuring Mamadou for sharing their track, High Life
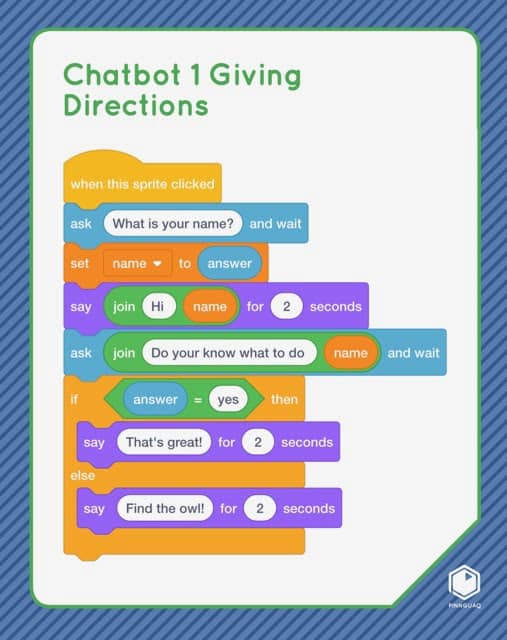
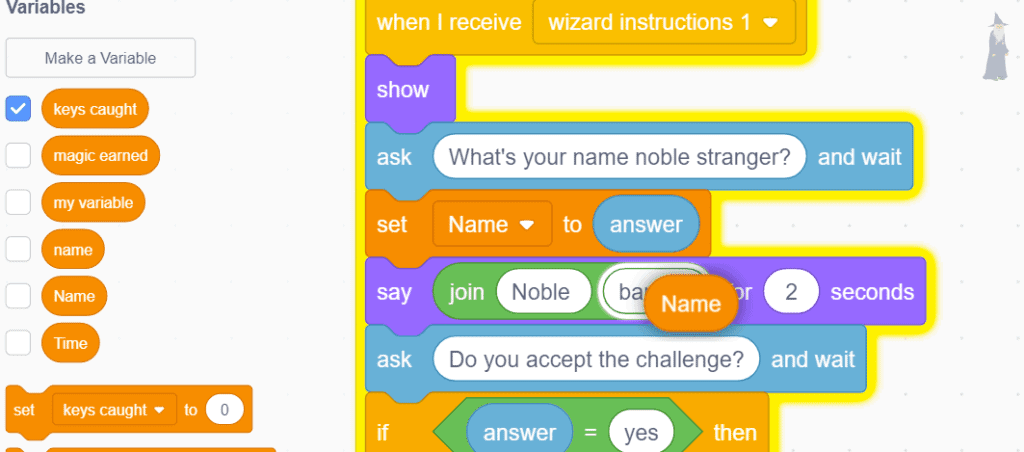
- Choose a yellow Events block to start your code algorithm. These Events blocks at the top of the Events category have a “hat shape” which means they begin the code sequence and no other blocks can be attached above these blocks.
- The light blue Sensing blocks bring input from the game and report it to the computer. The “ask (What is your name?) and wait” block will bring up an input bar on the stage. This code block is also used in the Ask Your Name Mix and Match cards. We use the same code block to give the player choices as we continue to build the code algorithm.
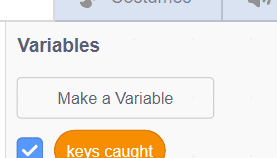
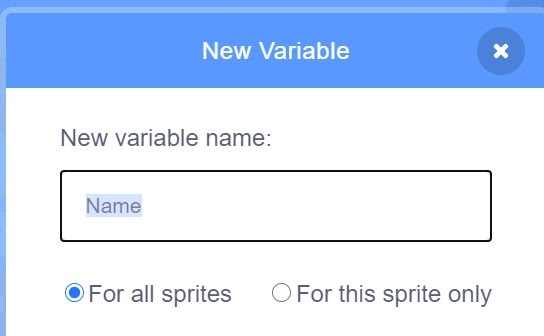
- To use the player’s input, we need to make a Variable. Variables are information that will be different for each game or change during the game. Each time the game is played, we want the new player’s character name to be brought into the game, and so this changing and variable information will be stored and reported by the computer as a Variable.
- For this first input step, we want the player to put in the name of their character. We will make a Variable that will record and report this information. Let’s call this Variable “Name”.
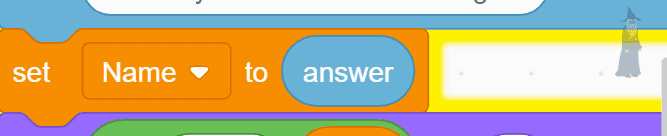
- To set the answer given by the player as the Variable, we will use the “set (your variable) to” block and the light blue Sensing block, “answer”. The light blue Sensing “answer” block will record the information typed into the input bar by the player and attach that information to the Variable.
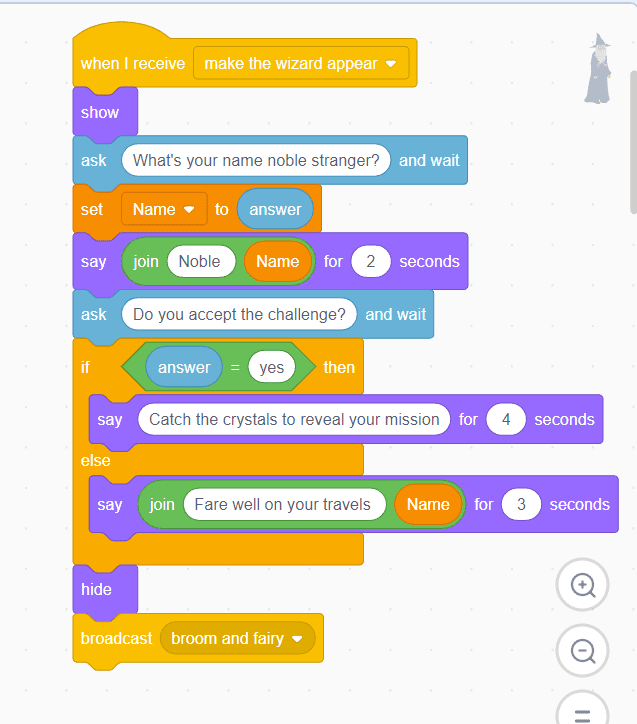
- The purple Looks “say (something) for (2) seconds” block will show the text that the character says on the stage and in the game, just like how characters talk in a comic strip. To make the character say the words and bring in the player’s input answer, we can use a green Operators “join (something) (something) for (2) seconds” block.
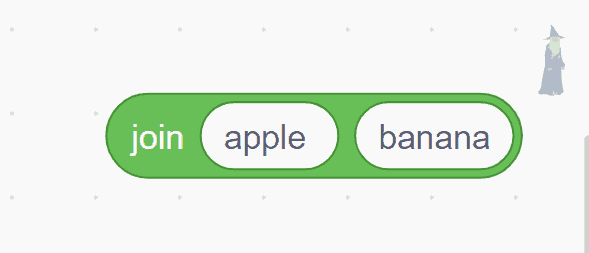
Don’t forget to type in the space after the text in the first bubble so that the words will be separated when they show in the game or story.
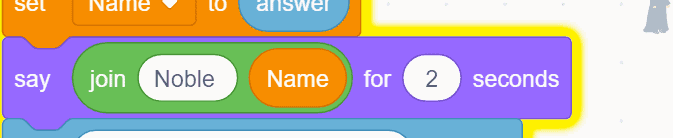
- You can drag the Variable block right into the purple Looks “say (something) for (2) seconds” block. This will make the character sprite say the word “Noble” and the character name that the player typed into the input answer box.
- The next blocks set up the choice for the player.
- Let’s pull these blocks apart to get a good look at all of the pieces used in this part of the algorithm.
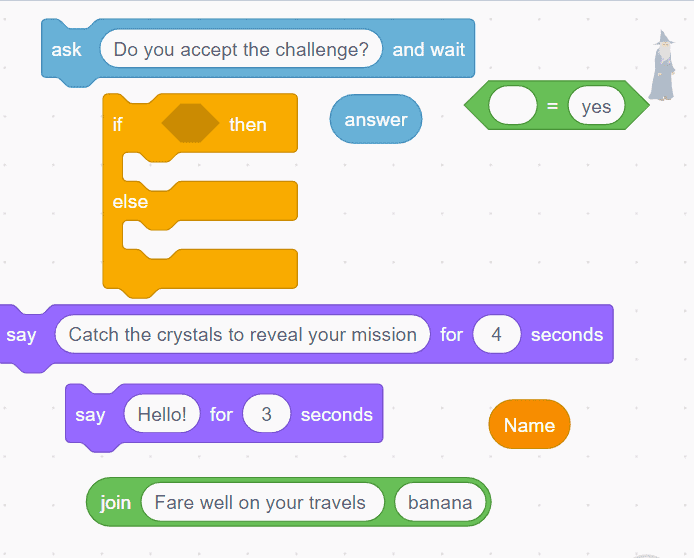
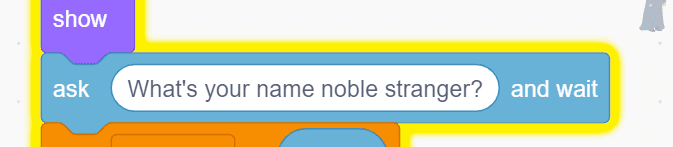
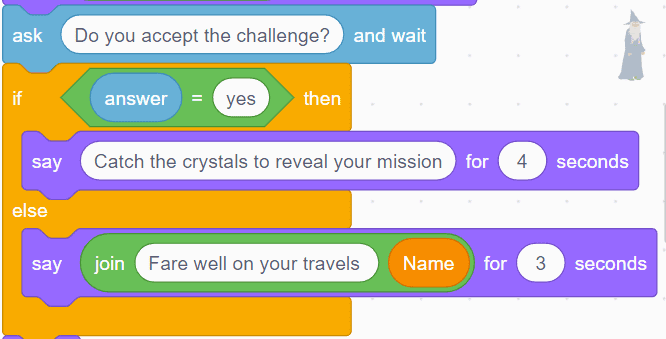
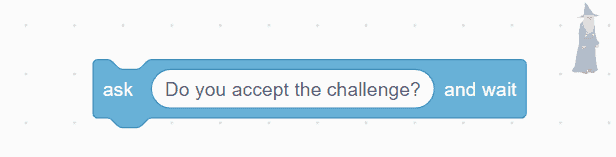
- The light blue Sensing “ask (something) and wait” block will bring up the input bar for the player to provide some information or to make a choice. You can type whatever words you want (and in whatever language you want) into the text bubble.
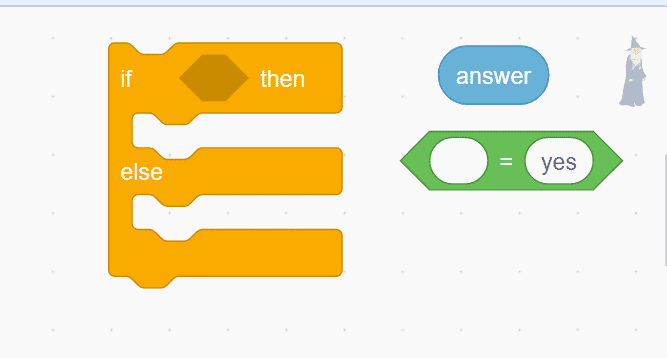
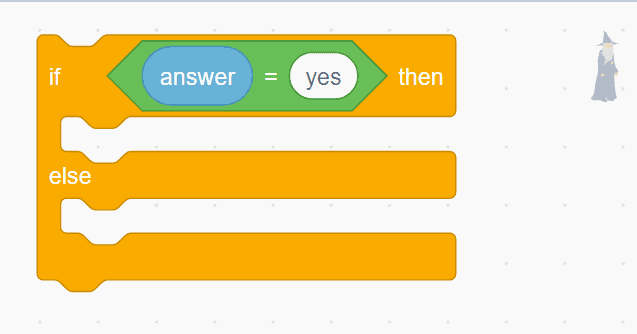
- The orange Control “if…then else” block will make one of two things happen in the game. If something is happening in the game and the condition is true, then the action in the first opening of the “if…then else” block will happen. If that condition is not true, if the specific event described is not happening then something “else” will happen.
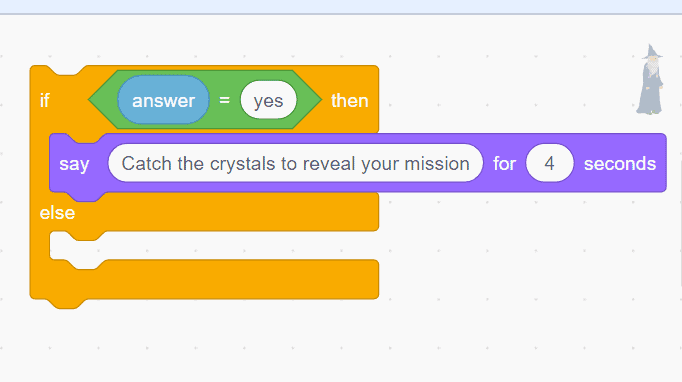
- If the player answers yes and types yes into the input bar, then the action in the first opening of the orange Control “if..then else” block will happen. If the player types in “yes” then the wizard will say, “Catch the crystals to reveal your mission”.
- If the player types “no” into the input bar, then something else will happen and the wizard will say, “Fare well on your travels (Name of character answer) for (3) seconds” instead. Using the green Operators “join (something) (something) for (3) seconds” block lets us have the wizard say something as well as say the information that is held in the deep orange Variable “Name” . The information held by the Variable is the character’s name that the player typed into the first input bar.


The code algorithm for the Chatbot Giving Directions Mix and Match card seems complicated and has a lot of pieces involved. Don’t be scared to use this code algorithm. When you pull all the pieces apart, you can see that it’s not that difficult to put it back together if you build it one block at a time. Use the colour coding of the blocks to help you find the blocks that you need. Creating an interactive, immersive, Choose your own Adventure type game can be a lot of fun!
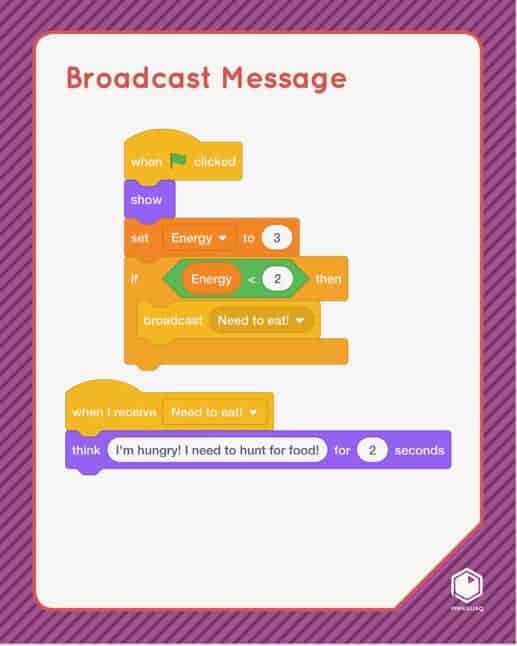
Broadcast Message
Thanks so much to the Great North Sound Society for sharing their track, Corndogs in Santa Monica
The yellow Events blocks for “broadcast message” are some of my favourite code blocks in Scratch because you can use them to directly control the actions and timing of sprites in your game or story. You may have noticed that I’ve used these code blocks in almost all of the games I’ve created for the Mix and Match challenges. Watch the video and follow along with the tutorial below to see how to use these powerful blocks. (Remember that the code shown on the Mix and Match cards can be adapted to fit your game or story.)
- At the beginning of the Choose your own Adventure with Critter game, Critter moves when the player presses the arrow keys. However, after meeting the Wizard character sprite who gives Critter a magic wand and magic broom, Critter flies and moves by following the mouse pointer. Let’s look at how to set up this change of game action using the broadcast message blocks.
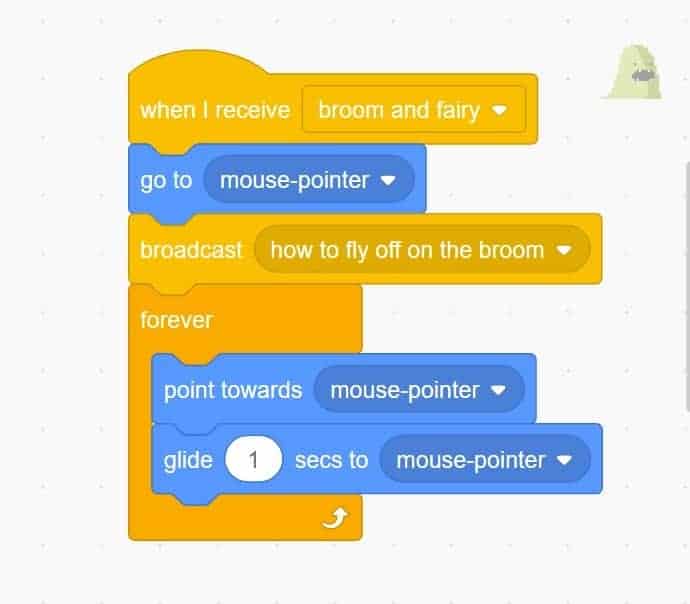
- This code begins with the yellow Events block “When I receive (message)”. Critter has to first receive the message “broom and fairy” for the rest of the code to run and for Critter to begin “flying” by moving by following the mouse pointer.

- When this code begins running, and when the computer and Critter receive this message, Critter is commanded to “go to (mouse-pointer)” with this blue Motion block.
- Then Critter broadcasts the next message “broadcast (how to fly off on the broom)” to make the fairy appear, and the rest of this code algorithm which will make Critter follow the mouse-pointer for Critter will run.
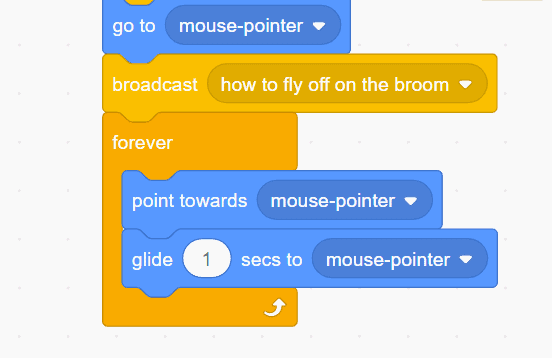
- Critter receives the message,”when I receive (broom and fairy)” after the wizard appears. Let’s look at the code for the wizard sprite to look for this message broadcast.

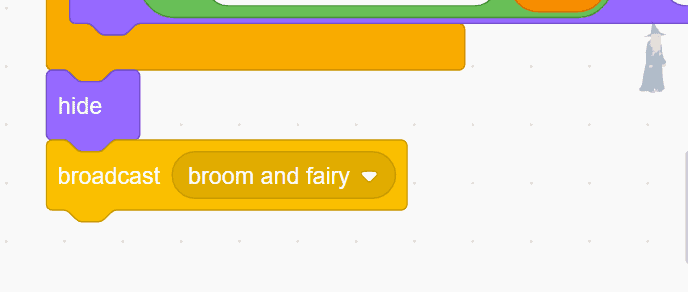
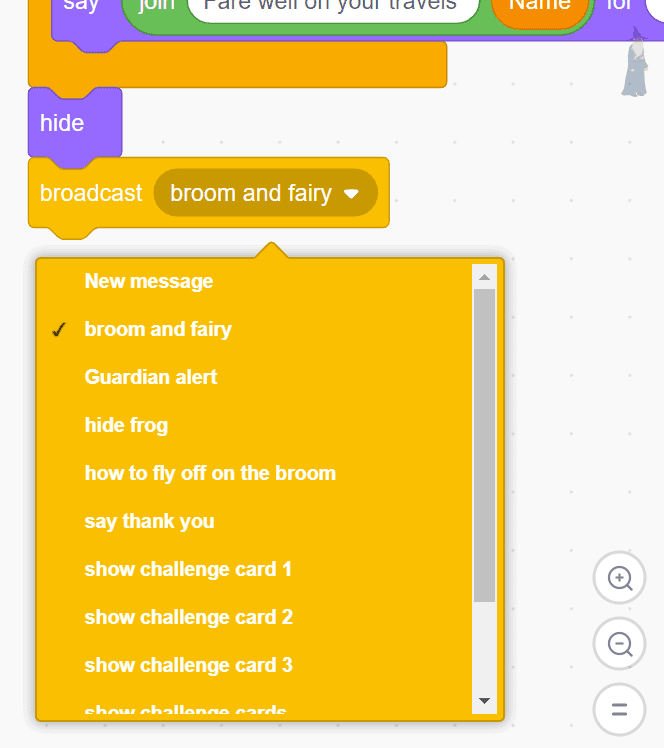
- You can see that the wizard broadcasts the message to bring in the fairy character and the broom after asking Critter if he will accept the challenge. We can see the yellow Events code block, “broadcast (broom and fairy)” at the end of this code algorithm.
- Pressing on the drop-down menu in the middle of the broadcast “(message)” block shows all the messages that have been created for this game. Follow the steps below to learn how to broadcast a message and how to have a sprite receive and activate a message.
3 Steps to Creating a Message
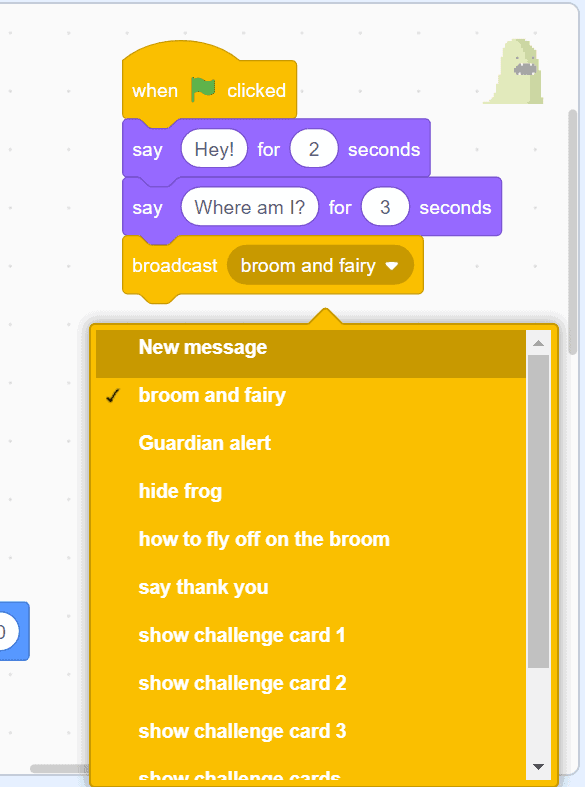
- Select the “broadcast (message)” block from the yellow Events blocks. Open the drop-down menu in the middle of the block and choose “New message”.
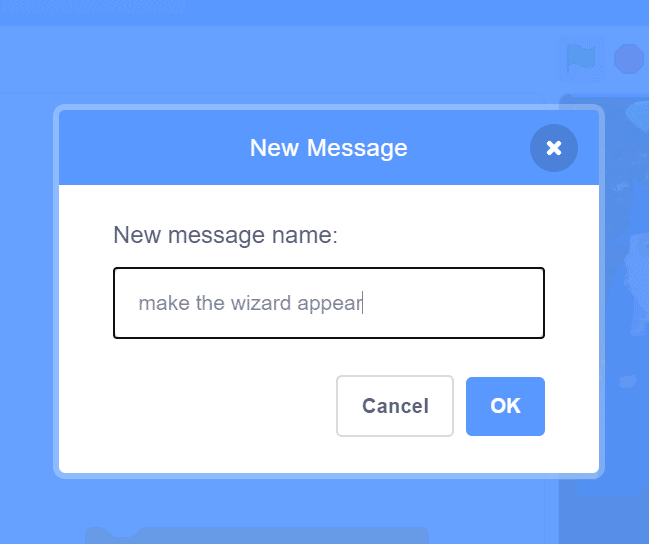
- Type a name for your message into the pop-up dialogue box.
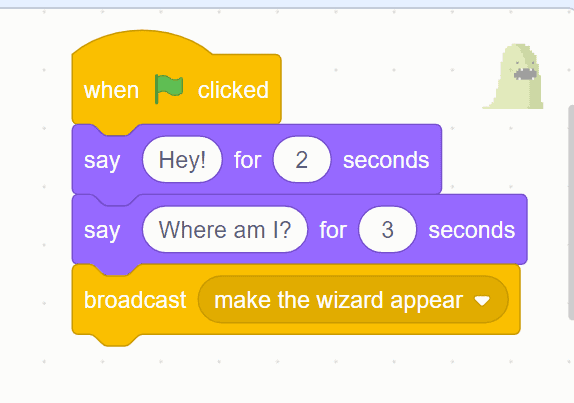
- Now you will see the name of the message you have created in the “broadcast message” block. It’s that simple!
3 Steps for a Sprite to Activate the Message
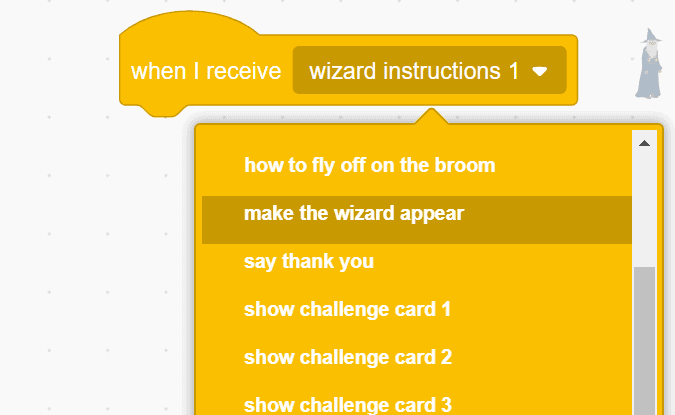
- Select the sprite that you want to receive the message. In the code area for that sprite, bring in a “When I receive (message)” block. Open the drop-down menu and select the message for that sprite. Critter broadcast the message “make the wizard appear” so we will select that one.
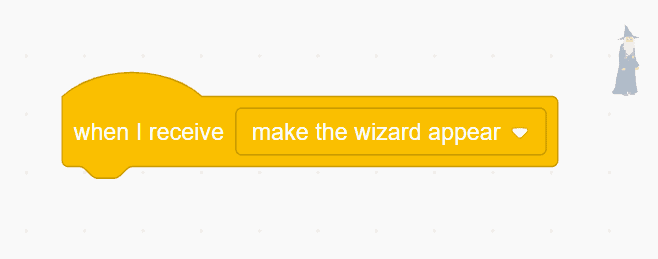
- Now you will see the message for that sprite at the beginning of this code algorithm.
- Add the code that you want that sprite to make happen, to run. It’s that simple and so powerful!
The broadcast message blocks allow you to control the timing of actions in your game. Messages are simple to create and are very powerful to use in your game or story.
Conclusion
The code shown on these three Mix and Match cards can be used together to help you make your own Choose Your Own Adventure type game. Each of the code cards can also be used in many different in your games or stories. I can’t wait to see what you create!
We want to see the awesome things you’re creating! Take a photo or video and share your work with us by emailing media@pinnguaq.com or tagging @pinnguaq on Facebook, Twitter, or Instagram. Don’t forget to include the hashtag #LearnWithPinnguaq! You can also upload your project to the Pinnguaq Studio. For more fun activities, visit www.pinnguaq.com/learn.
You might also like
Scratch Mix and Match Challenge #1: Make Your Own Game
 Grade 7 – Grade 12
Learn how to make your own game with the Scratch Mix and Match Cards Challenge! Each challenge, you’ll get three cards showing different pieces of code to jump start your game creation.
Scratch Mix and Match Challenge Bonus: Levels
Middle – Grade 12
Learn how to add Levels to your game or story in Scratch with Levels #1 and #2 from the Scratch Mix and Match cards deck.
Scratch Mix and Match Challenge Bonus: The Mystery of the Hidden Hide and Seek Block
Middle – Grade 12
Find the hidden block, and learn how to use it another way to code hidden sprites in Scratch!
