Section Navigation

Introduction
In this course students will learn:
- What Inkscape is
- The basics of using Inkscape to create art
- How to create art with Inkscape
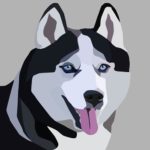
Inkscape can be confusing, but if you take the time to learn it, you will have the knowledge and tools you need to create wonderful works of art, like these:

Even knowing how to use tools such as the ink dropper can be very useful.
Vocabulary
Inkscape - A vector graphics software that can be used to create graphs, illustrations, charts, edit photos, or make logos.
Vector Graphics Software - Software that uses mathematical sequences to create an image.
Vector - A mathematical term for determining one point of space to another. Software such as Inkscape uses mathematical equations and geometric information such as points, lines, and shapes, to create art that can be scaled to any size without loss of resolution.
Tool - A preset brush, selector, page editor etc. that allow users to perform specific tasks.
File - A list on Inkscape with different options, such as “Save as…” and “Open.”
Document - A blank page or image that you work on.. It is your work space.
Layers - What you use to organize your document and keep objects separate from each other, so that each can be edited without disrupting other objects. Layers can be locked or hidden to allow for easier editing.
Hotkeys - Shortcuts to specific functions. In Inkscape, the B key and F1-F10 keys are important.
PDF - Stands for Portable Document Format, and is more compact (“portable”) for emailing and sharing.
Inkscape SVG - Stands for Scalable Vector Graphic, and is another portable file format that can be shared, but the vector data is maintained so that you can continue editing your file in Inkscape.
Dimension - Another word to describe features and details. Dimension in art is what makes your art “stand out.”
Low-poly - Mesh made from polygons in computer graphics that uses a relatively low number of polygons.
Learning Goals
The goal is for students to learn the basic tools of Inkscape so they can create their own unique vector art, and connect with how fun it is to create art. They will be learning how to use the pencil and droplet tools to colour an image.Students will also be using drawing tools to create polygons that will build a low-poly mesh. Students will learn what vector art is and how to use it in a practical setting.
Guiding Questions
- What is vector art?
- How do you create art with vector graphics software such as Inkscape?
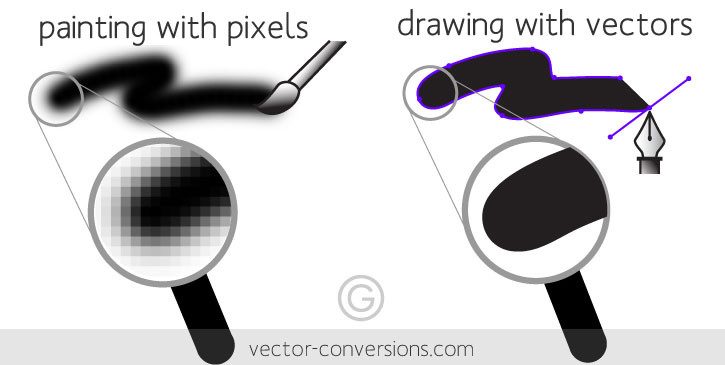
- How is vector art different from pixel art?
Curriculum Links
This module provides an opportunity to address curriculum expectations in the Arts and Computer Studies in Grade 9 to 12. In particular, students will be introduced to the software Inkscape. This assignment will also demonstrate how visual cues can help convey depth and mood in a picture.
Materials
- Inkscape – Download Inkscape
- An image to recreate (chosen by student or supplied by teacher)
- Inkscape file
Non-Computer Activity
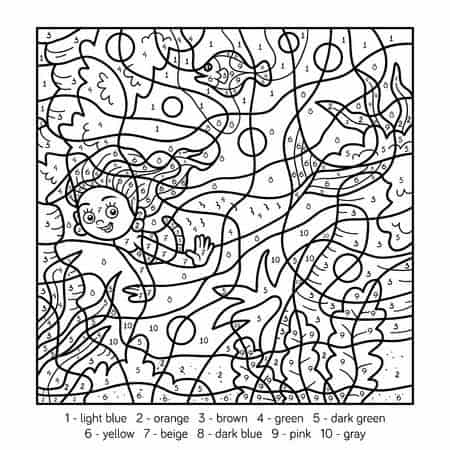
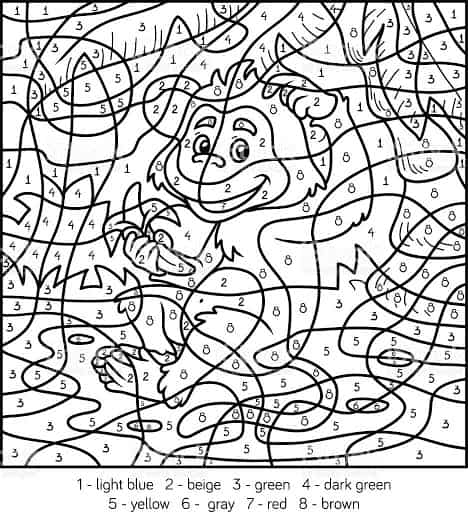
To fully understand what vector art is, a colour-by-number picture is a good example. If all of the different areas were coloured in the same colour, it would feel flat and lack dimension. Adding a variety of colours to your art gives it character, and makes it unique. When colouring an image that is a colour-by-number we are colour blocking. This is the same concept that we are going to be applying to our vector image. Vector art is using shapes and lines to create an image usually done with digital software.
Computer Activity
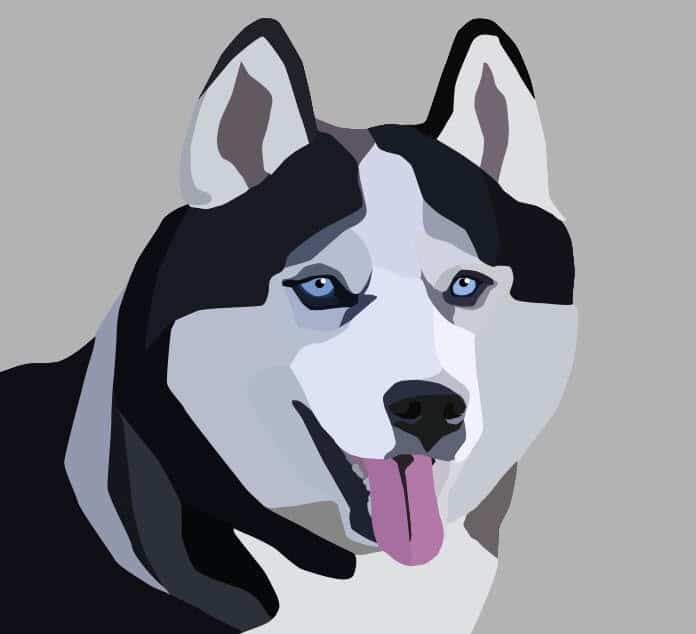
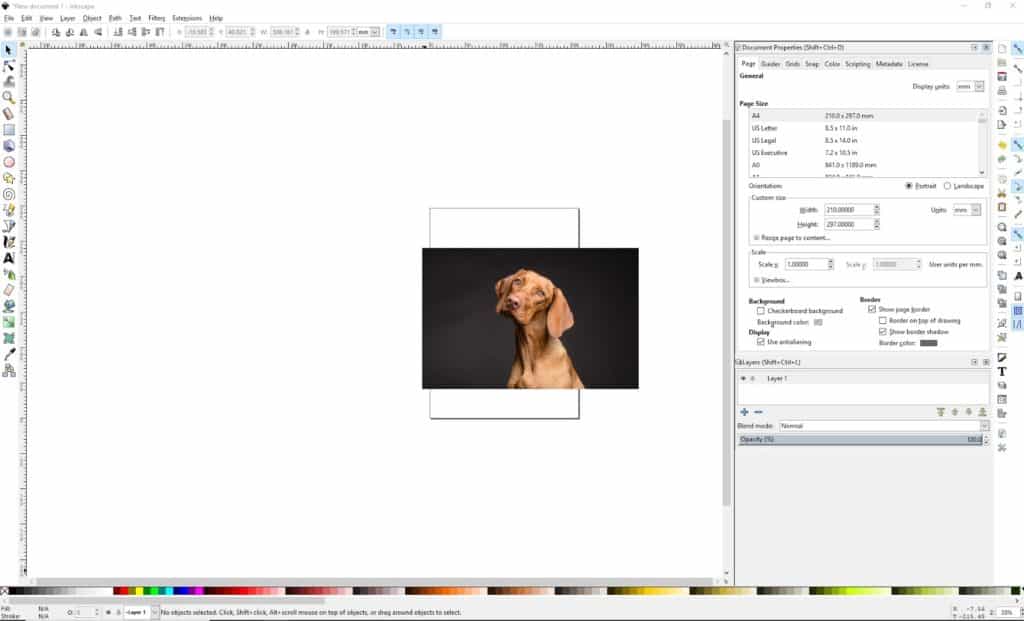
For this introduction to Inkscape, we will use a simple image. Once students are more comfortable with the program, they can work with more complex images if they wish. We will be using the below image of a dog.

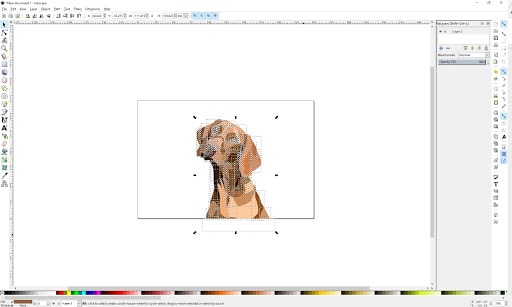
- To begin, open Inkscape. Copy and paste the dog image into your document by right clicking the image, selecting Copy, then right clicking in your document workspace area and selecting Paste.
- We need to adjust the document dimensions to accommodate the photo. Hold Shift+Ctrl+D to open the document editor. Adjust the page width to 252 mm and the height to 168 mm.
3. Close the document editor and open the layers menu by pressing Shift+Ctrl+L. Layer 1 is created upon opening a new document in Inkscape. To keep layer items in place, lock your layer by clicking on the lock between the eye and the layer name.
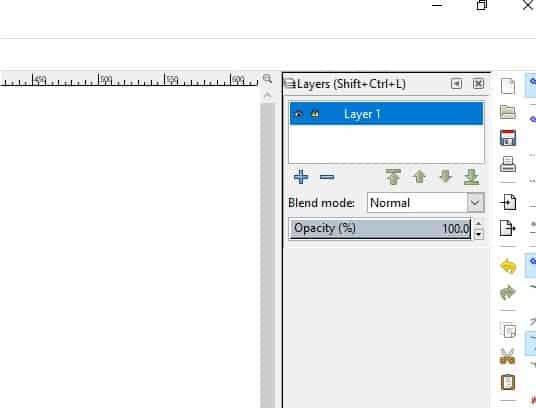
4. Make a new layer by clicking on the + or pressing Shift+Ctrl+N A menu will pop up where you can name your layer and choose the layer position. Position this new layer above Layer 1. Leave this layer unlocked, as this is where you will be drawing.
We will be building our shapes based on areas of similar tones and colours. It is important to observe and notice the differences between light and dark areas, as this is what will give our image dimension. Colour blocking is the process of separating different colour areas like what we saw in our colour-by-number. We will be simplifying the image by limiting the number of colours. Rather than having a seemingly infinite array of tones and gradients (as in a photograph), we will make shapes that correspond to similar colour areas. If one area is a similar shade of brown, then make one shape that fits that area. To help yourself see less tonal values and help distinguish areas of similar colour, you can try squinting your eyes at the image. If one area is completely white then map out that area.
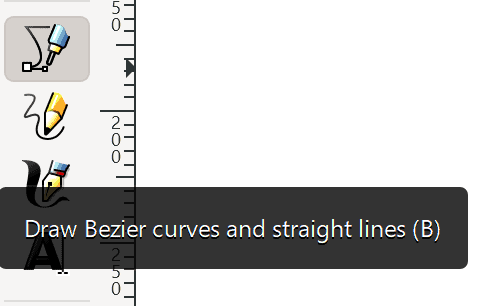
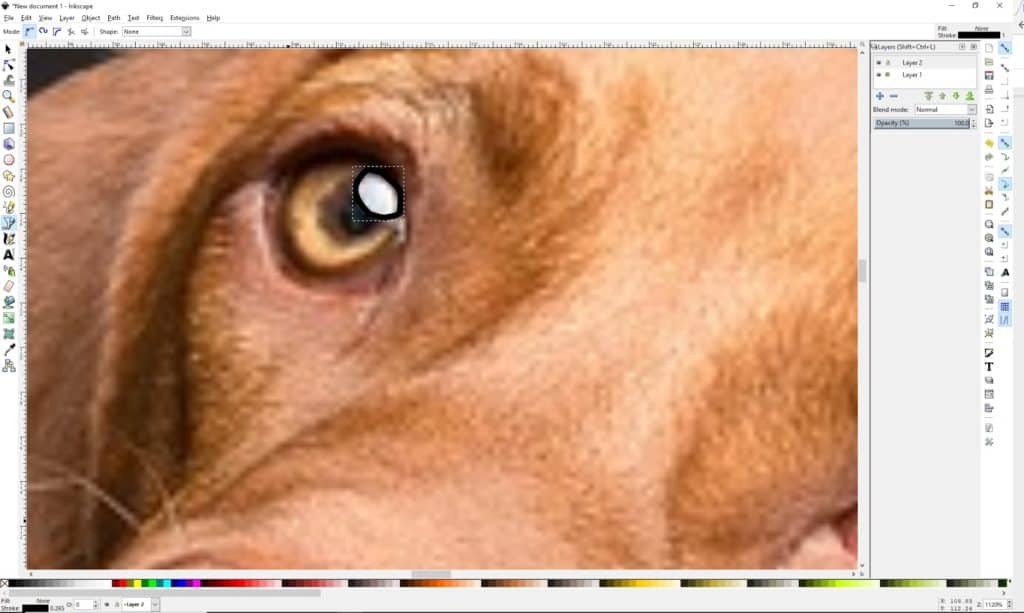
5. To begin drawing, select the drawing tool from the toolbar, or press the B key on your keyboard. When you first click, a square will appear at the end of your line, this is our beginning and end point of our shape. We can use this tool to create a polygon and start creating a low-poly image. To close your shape click on the square where you started.
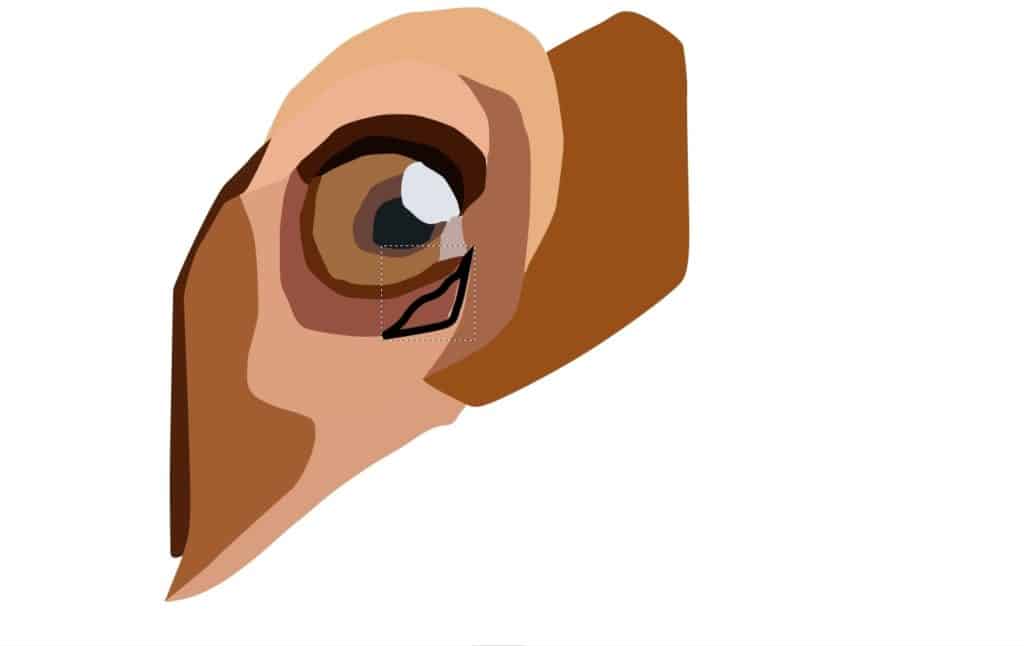
6. We will begin with the eyes and build our image from there. Starting with the highlight in the dog’s eye, make a shape that surrounds this area. To make shapes smoother and less angular, left click while holding and dragging your mouse in the shape you want to make. If you make a mistake, right click anywhere on the drawing and select Undo: Draw Path. Or simply hit the undo and redo buttons, the green and yellow arrows (left to undo, right to redo).
It can be challenging to create an illustration if the Snap Cusp Nodes is on; this imposes a grid and provides structure to shapes, but gives you less freedom while you draw. Cusp Nodes can be useful for geometric shapes like triangles or squares. When it is turned off you have complete control to create any shapes you want.
7. On a computer Snap Cusp Nodes is located on the far left toolbar, on laptops it is located at the top of the screen. If you have trouble finding a tool, hovering over any tool for a few seconds will show the tool description.

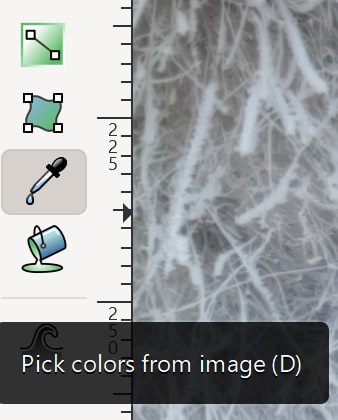
8. Select the ink dropper with the F7 key, this will fill in your shape with colour. You can be creative and select colours from the bottom bar, but for our purposes, choose a colour to make it true to the picture.
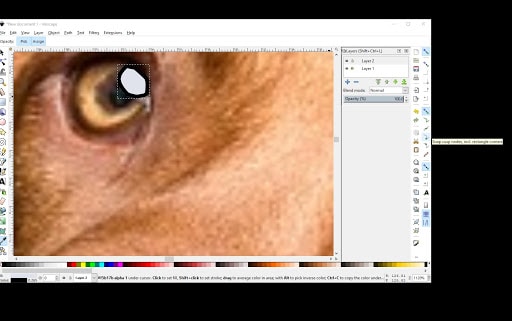
To remove the black outline around our circle, shift click on the X button located at the bottom left of the colour bar.

9. Congratulations! You have just made your first shape on Inkscape. Continue making shapes of similar colour areas until you have completed one of the dog’s eyes. As you continue to add shapes and colour them you are continuing to build your poly-mesh.
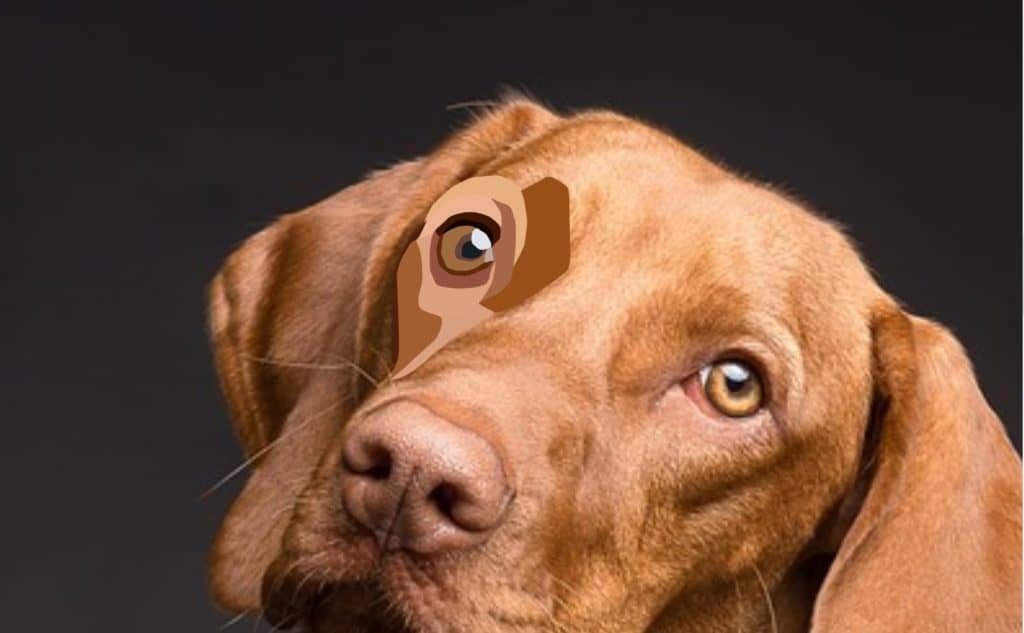
Don’t worry if you have more or less than what is drawn in this photo. We will each have different images by the end. You can zoom out to look at your creation with the – (minus) key. Also, don’t worry if your shapes have curvy or uneven edges, that’s the fun of low-poly images, there is no “correct” way to do them.
10. To see what your final image looks like so far, click the eye on Layer 1, to hide the photograph. If any white areas are visible between your shapes, zoom in with the + key, and adjust your shapes or make new ones to hide to make sure none of the white background is visible.
Tip: Take your time and create your image one section at a time. For example, if you have just drawn one eye, stop and edit. When you’ve drawn the next eye, stop and edit. This will save you time and frustration in the end by avoiding having to edit the entire image at once. And remember, art takes time. The more complex and detailed your image, the more time it will take. After some practice, creating this style of art will become more intuitive.
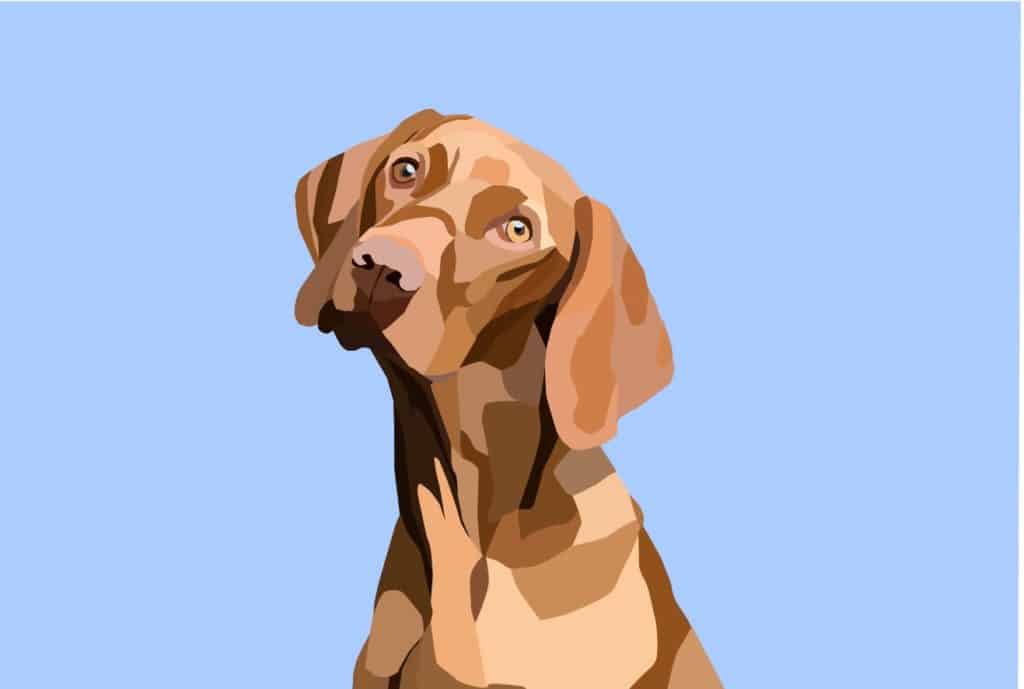
11. Now it’s time to complete your image! Keep making shapes as we did for the eye, working one area at a time. After your image is done, you may notice small white lines going through your shapes. To fix this duplicate your layer via the layers palette.
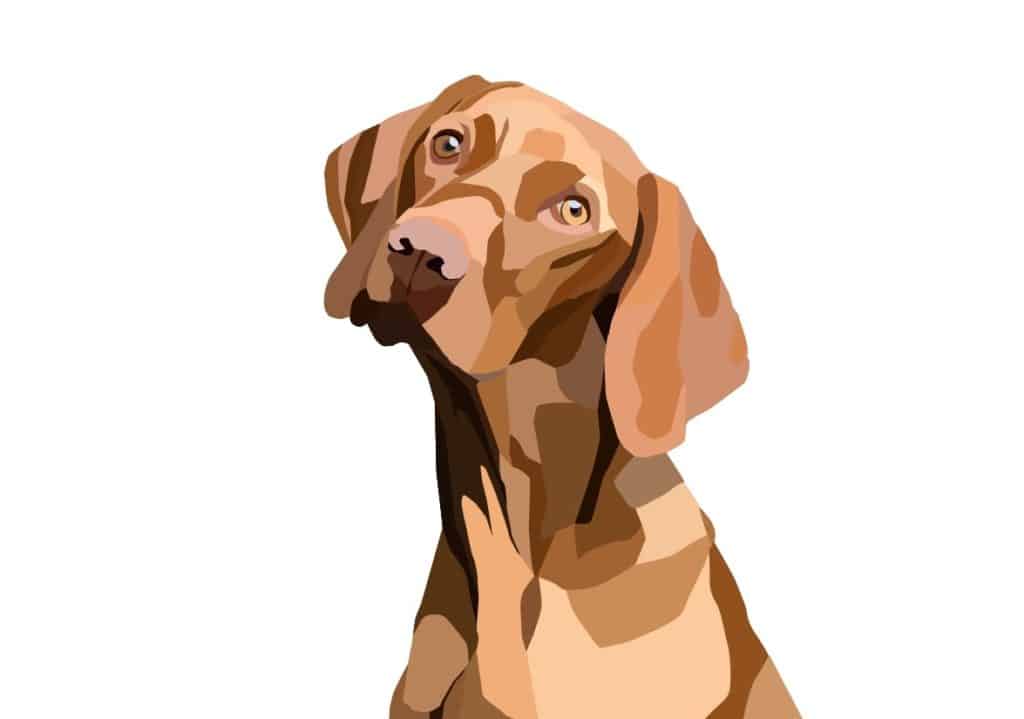
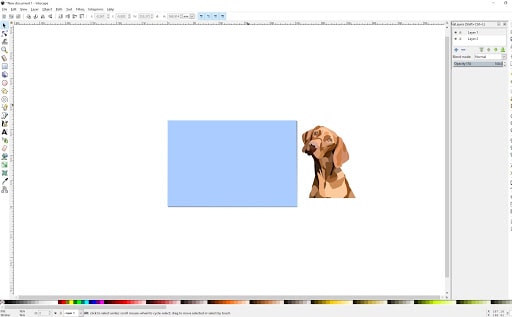
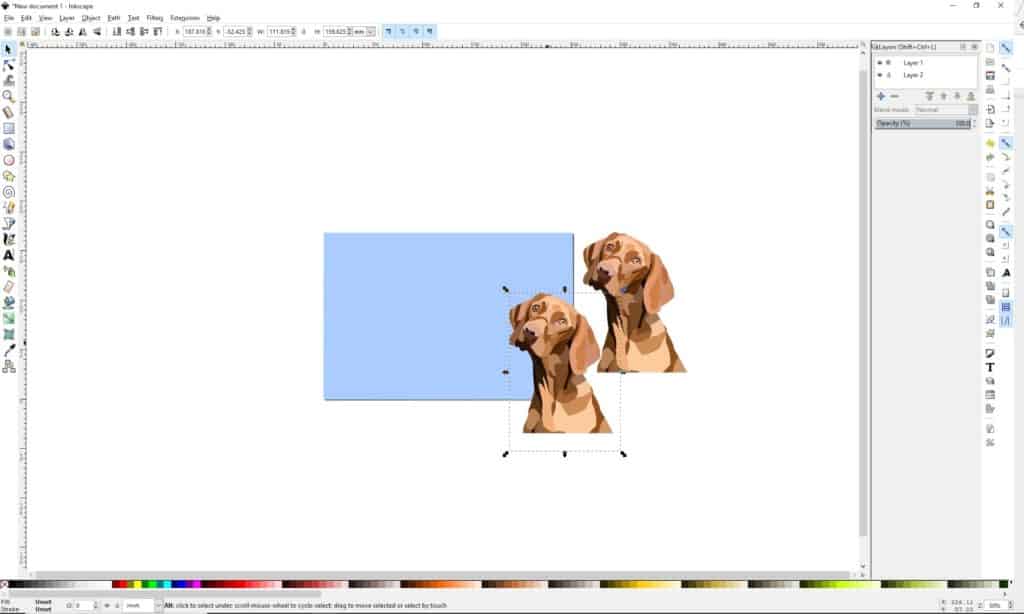
12. Here is the final image. Let’s add a background to give it more dimension. First, delete the layer with the reference photo by right clicking the layer name and selecting Delete Current Layer.
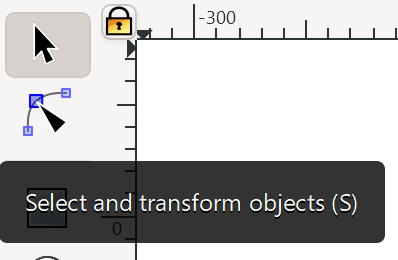
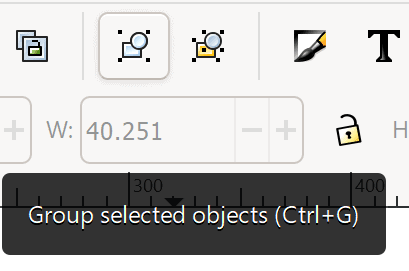
13. Then select everything you’ve drawn by using the select and transform objects tool. Left click and drag the box over all of your objects (Ctrl+Alt+A). Next click Group Objects (Ctrl+G). Now your image will stay together when moved. Hide this layer while we create the background.
14. Create a new layer beneath your image for the background. You can upload an image, create a new piece of original vector art for your background, or create a rectangle and fill it with a solid colour. Lock your background layer so it stays in place.
15. It is a good habit to save your document every few minutes while you’re working on it (File > Save). Let’s save it again, and then save it in different formats. Select Save As or Ctrl+Shift+S and choose PNG or Inkscape SVG. The SVG file format preserves your layers so you can edit on other devices that have Inkscape. A PNG file is compact for emailing and sharing, but cannot be edited.
Conclusion
Congratulations! You’ve made your very own low-poly style art! Now you can create anything you want, you could even import a photo of a sketch you’ve done yourself and make vector art from that. Vector art is commonly used when designing logos, graphics and other digital drawings. There are also apps that make low poly images with the click of a button, but sometimes it’s more enjoyable to take the time to make your own. It is time consuming and can be frustrating at times, but the more you practice, the easier it will become.
Alternative Activity
For younger learners who struggle to use a mouse they can make their own art without drawing over an original image. They can also try making their own logo that represents their interests using Inkscape and a combination of images and letters.
Resources
Some low-poly style art resources:
- Digital Arts Online – Create a low-poly portrait
- 99 Designs – The secrets to successful geometric low-poly art
- Amazon – Low-Poly Art: Relaxation Colouring Book for Adults
- Twitter – #lowpoly
- Instagram – #lowpoly
- Inkscape – Community
You might also like
Introduction To SketchUp For 3D House Modeling
 Grade 9 – Grade 12
Students will learn how to use the 3D modeling program SketchUp to create a building.

Started From The Bottom, Now She’s Here
 March 7, 2019
Meet our digital artist Alyssa Amell! She is a Métis person that lives in the Kawartha Lakes that works at Pinnguaq doing what she loves!
Creating Voxel Art With MagicaVoxel
Grade 9 – Grade 12
Are you a fan of pixel art? In this lesson we take pixel art and make it 3D using voxels! Learn how to use Magicavoxel and create a world of your own.
