

Overview
This activity will be a visual form of storytelling by taking pictures from magazines or newspapers found around the house to convey a story. The story will be formed once all the pieces have been placed onto the canvas.
Background Information
This activity uses knowledge and practice of environmental conservation and visual storytelling. Environmentally, this gives a way to tell stories while reducing your waste and carbon footprint. By reusing anything you can in your household it helps to ensure that your waste is significantly reduced. Paper uses forty percent of the world’s lumber supply, so it may not seem like a big change to try to reuse household supplies and items, but in the end you could positively impact the environment! Reusing materials around the house is something we advocate for at the Lindsay Makerspace – we want you to be creative with what you have. An activity like this will push you to search around the house for old things that either you or your family don’t use anymore to create a story. This story will remind you of a comic, using mainly graphics and images to tell the story.
Using visuals to tell a story can enhance a reader’s experience by showing the reader emotions through facial expressions, mood through colours as well as settings and appearances through actual images. It showcases creativity as you consider how to visually tell a story. The best way to think of recycled storytelling is that stories can come from anywhere and anything, there are no limits on what you use or the story you create. What you can create is only limited to your imagination.
Materials
- Scissors
- Glue
- Blank piece of paper
Potential Materials for Pictures
- Old magazines
- Newspaper
- Catalogues
- Brochures
- Flyers
Step-By-Step Instructions
- Collect materials. Look for items in your recycling bin, old comic books you’re no longer reading. If you’re having trouble finding the materials around your house you could also draw your characters on top of the scenery.
- Use the scissors to cut out pictures from old magazines and or the newspaper. I would make sure to try and find a couple of settings and characters for your story.

Setting: The setting is where and when your story takes place. The setting can change throughout the story. The Setting will need to be shown in great detail using the images you find in the recycling. This will help the reader to better visualize where the story is taking place!
Characters: A character needs a visual description. The visual description will consist of what your character(s) look like (for example it could be a green dragon or a brown dog). Use as much detail as possible to help make the character come to life.
- Now begin to form your story using the pictures. This can be done by placing pictures onto the board just like in the picture below.
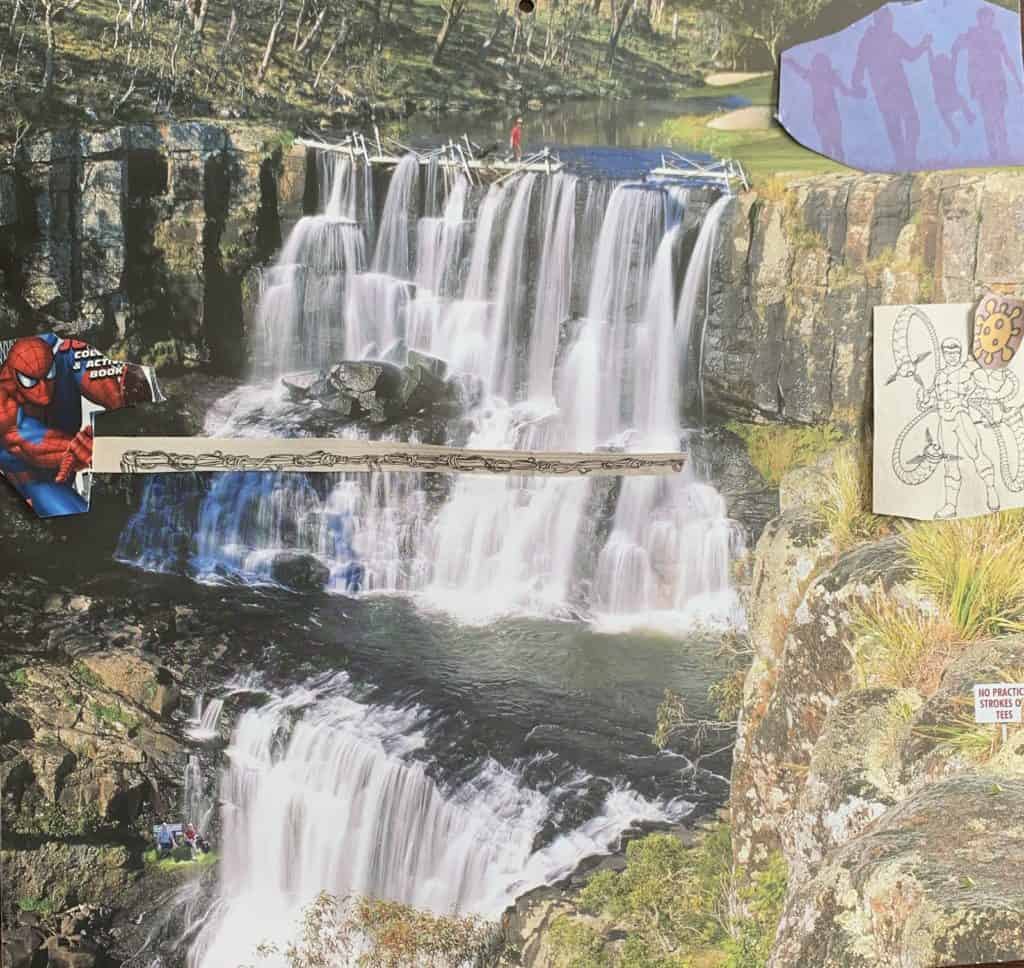
This story took a superhero theme in which Spiderman is saving a family trapped at the top of a waterfall from Dr. Octopus. Spiderman sees the trapped family and slings a web to prevent Dr. Octopus from harming the innocent family. But Dr. Octopus uses a new invention given to him by Dr. Connors, the energy in his hand stops Spiderman’s web. Luckily this was a distraction and Spiderman sent Captain America across the bridge to secure the family and get them to safety!
- The pictures can be placed in random order and the story will be formed afterwards or you can plan beforehand! It can be very difficult to decide where to begin your story, even with all of the pictures in place. If you ideas for your story read more on how to form a story see this Story Storm Activity.
- Once you have thought about what your story will be, you can share it with your family.
Next Steps
To add direction to your story, add captions and text bubbles. The text bubbles and captions are very brief explanations of what is being said or what is going on in the image, this gives readers clarification as they interpret the image themselves.
Alternate Activity: Collages
Another great way to use images to tell stories is to create a visual biography. Find pictures that represent the things you love in your life, as well as the letters of your name. Place the letters in the middle and then surround it by the pictures you found that describe you!
You might also like
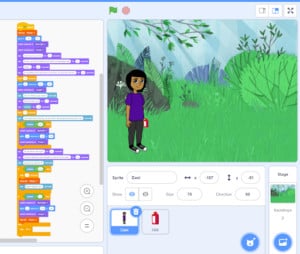
Responsibilities to Mother Earth: Interactive Storytelling with Scratch
 Grade 7 – Grade 12
Learning how to make interactive stories in Scratch.
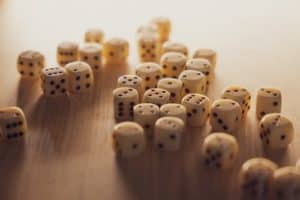
Roll the Dice Storytelling Activity
Primary – Grade 3
Roll the Dice Storytelling is a side step from Story Storm Activity which will use a five box system to generate ideas for stories!
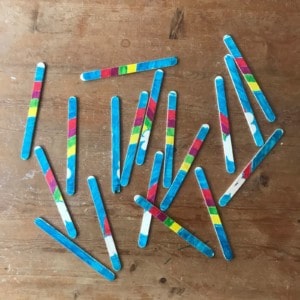
Unplugged Coding Activity Series
Primary – Grade 3
These unplugged activities are geared towards a younger audience with the intention of introducing basic coding concepts.
