
Activity
In this activity, learners will challenge themselves to create an effective water filter made from recycled materials and natural materials found outside. While this activity does not actually filter the water to the standards that allow for drinking, it will allow students to explore the first stage of water treatment, which is filtration.
Background Information
The water that comes from our taps has gone through a waste treatment facility that cleans the water through many different processes. One of those processes is called filtration. There are many people around the world who do not have access to clean water and they can get very sick from drinking unfiltered, dirty water. It is easy to see bugs, leaves, and twigs floating around in dirty water that can be picked out. However, that water can also contain millions of smaller particles which could carry harmful bacteria and viruses, as well as dangerous chemicals like pesticides, pharmaceuticals, and soaps, that could be toxic to humans and the environment. Water filters remove these particles and harmful materials from the water. Did you know that many people around the world do not have access to clean drinking water, even in Canada? Watch this video created by the YouTube channel What’s Inside? to learn more about the struggles that are faced in many communities in Canada and around the world to access clean water, and investigate what’s inside a water filter.
Materials
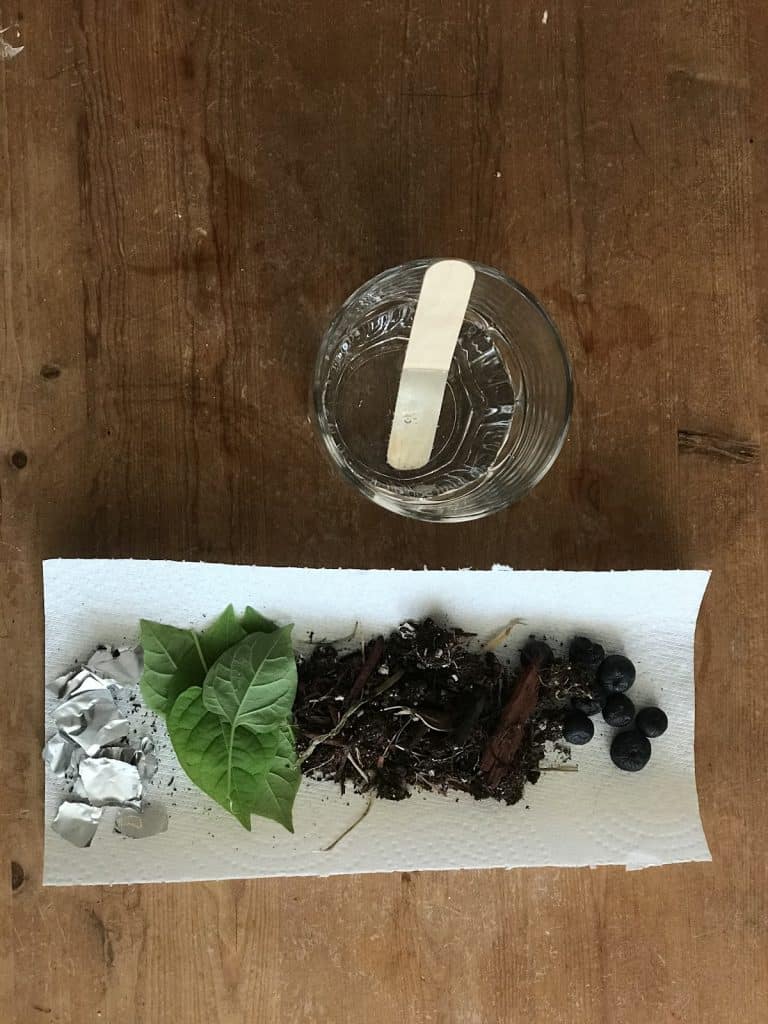
For Dirty Water:
- Soil
- Twigs
- Grass
- Pieces of wrapper from different items
- Raisins, peanuts, blueberries or similar sized material
- Cooking oil
For Water Filters:
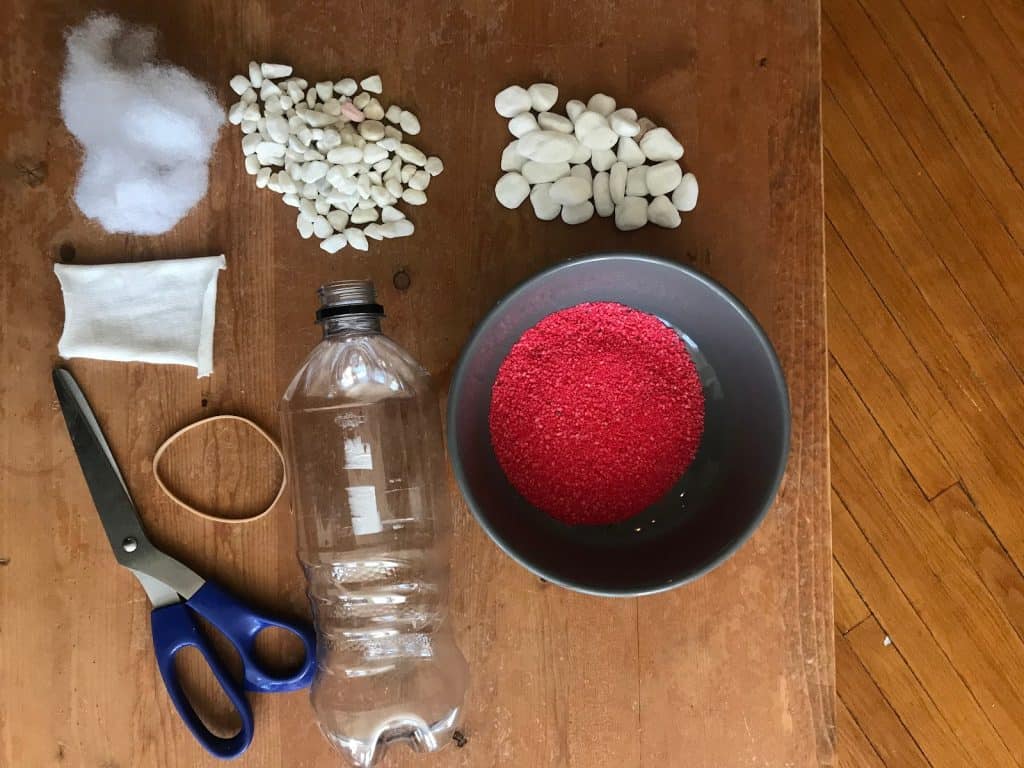
- Recycled, clear plastic bottle
- scissors
- Small, clean, pebbles
- Sand
- Clean gravel
- Rocks
- Rubber bands
- Cloth, coffee filter or a similar material
- Cotton balls
Step by Step Instructions
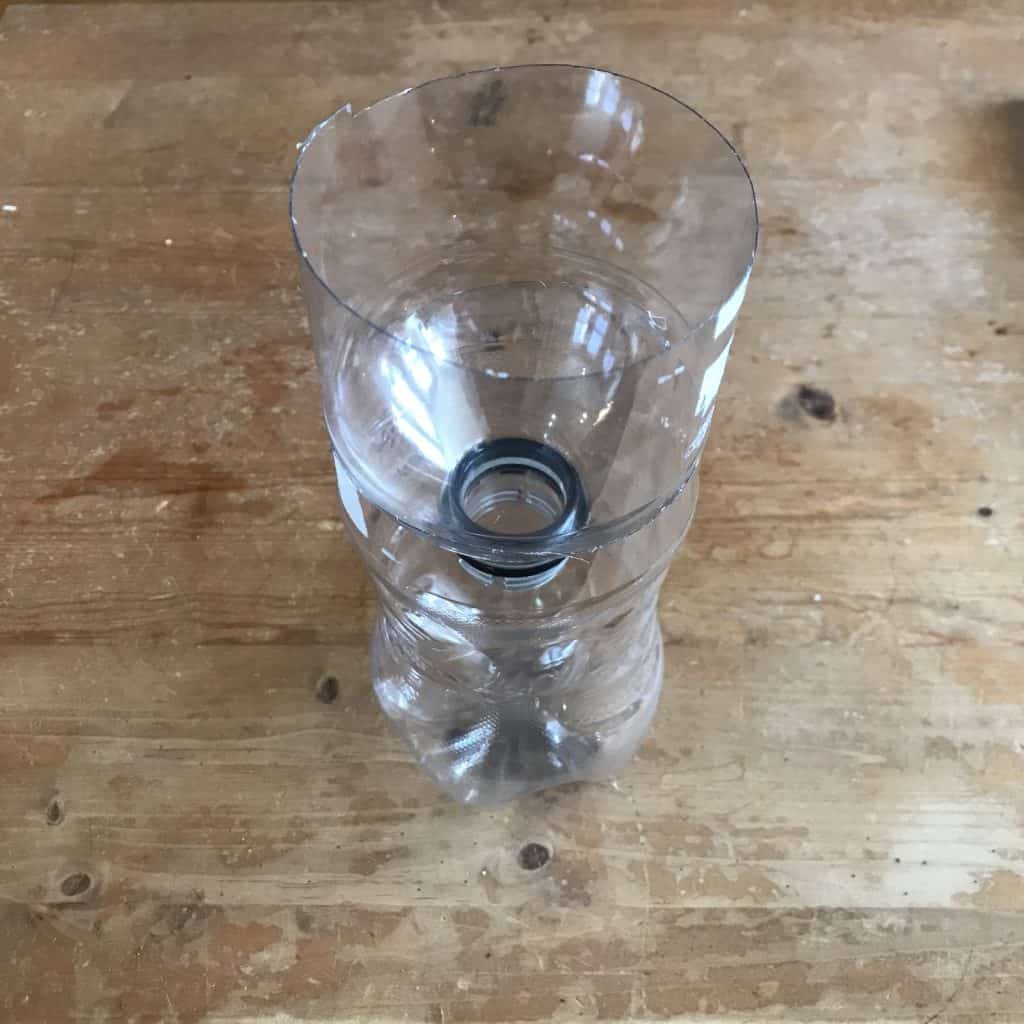
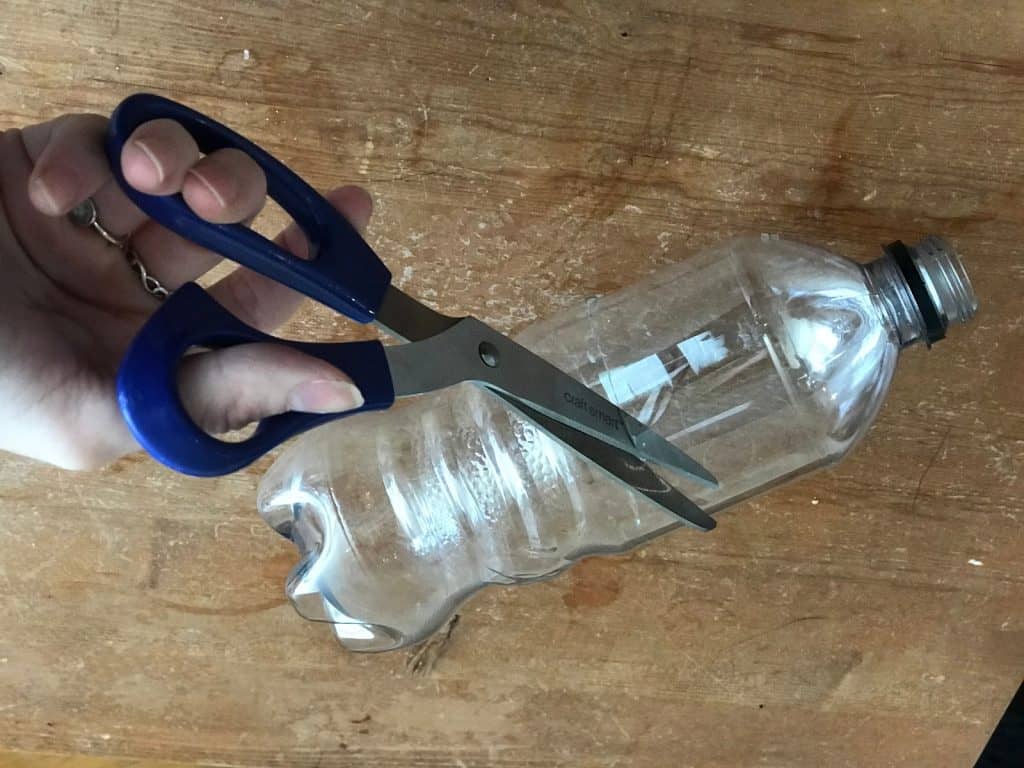
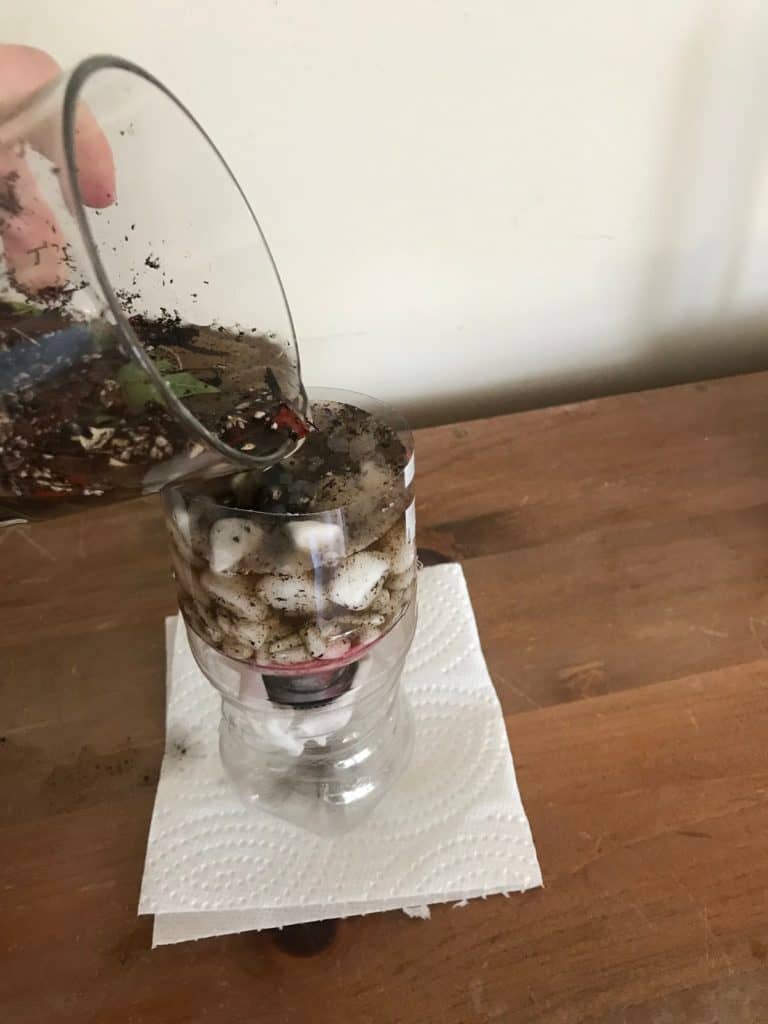
Step 1→ Cut your recycled, plastic water bottle in half with scissors. The top half of the bottle will be built into a filter. The bottom part will become a holder for the filter and collect the water that runs through the filter.
Step 2→ Wrap a piece of cloth around the mouth of the bottle and hold it in place with an elastic, this will trap the very tiny pieces of dirt floating in the water that is difficult to see.
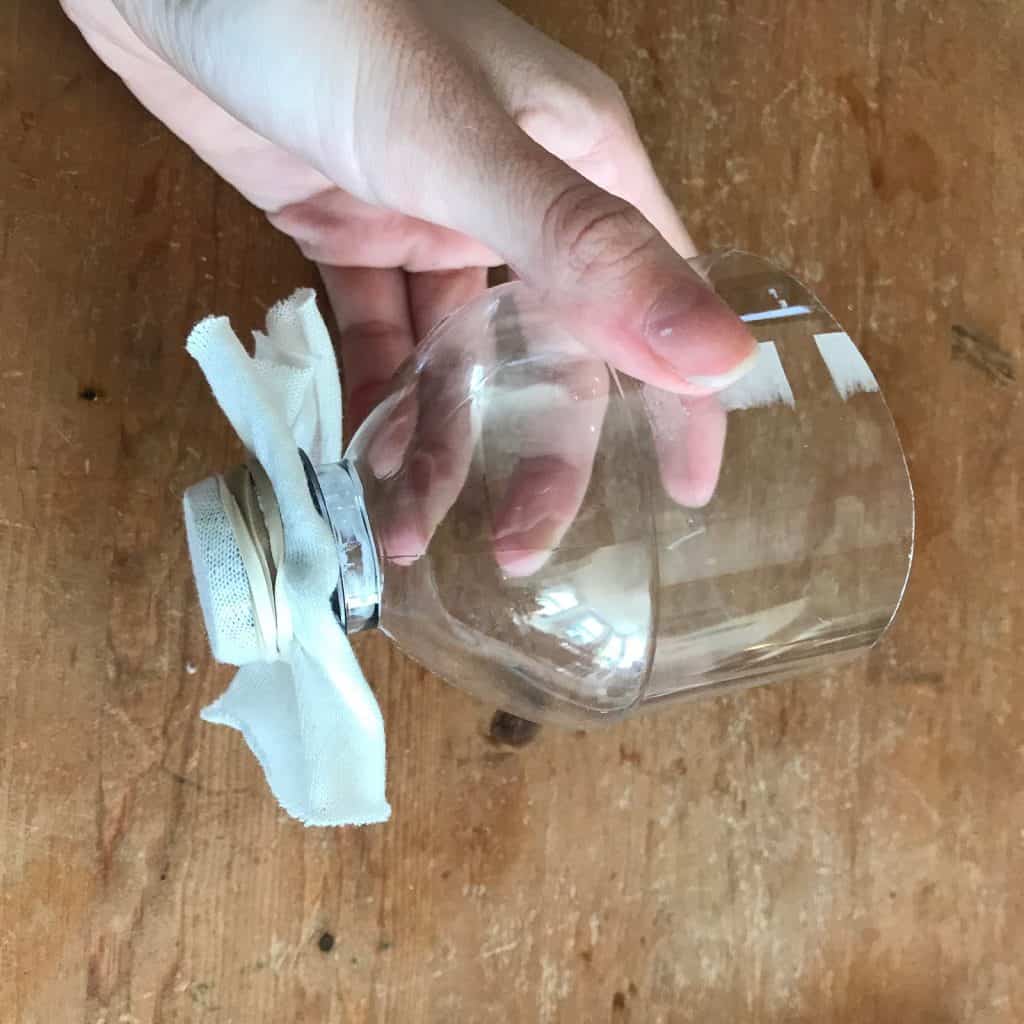
Step 3→ Tightly pack a few cotton balls into the mouth of the bottle.
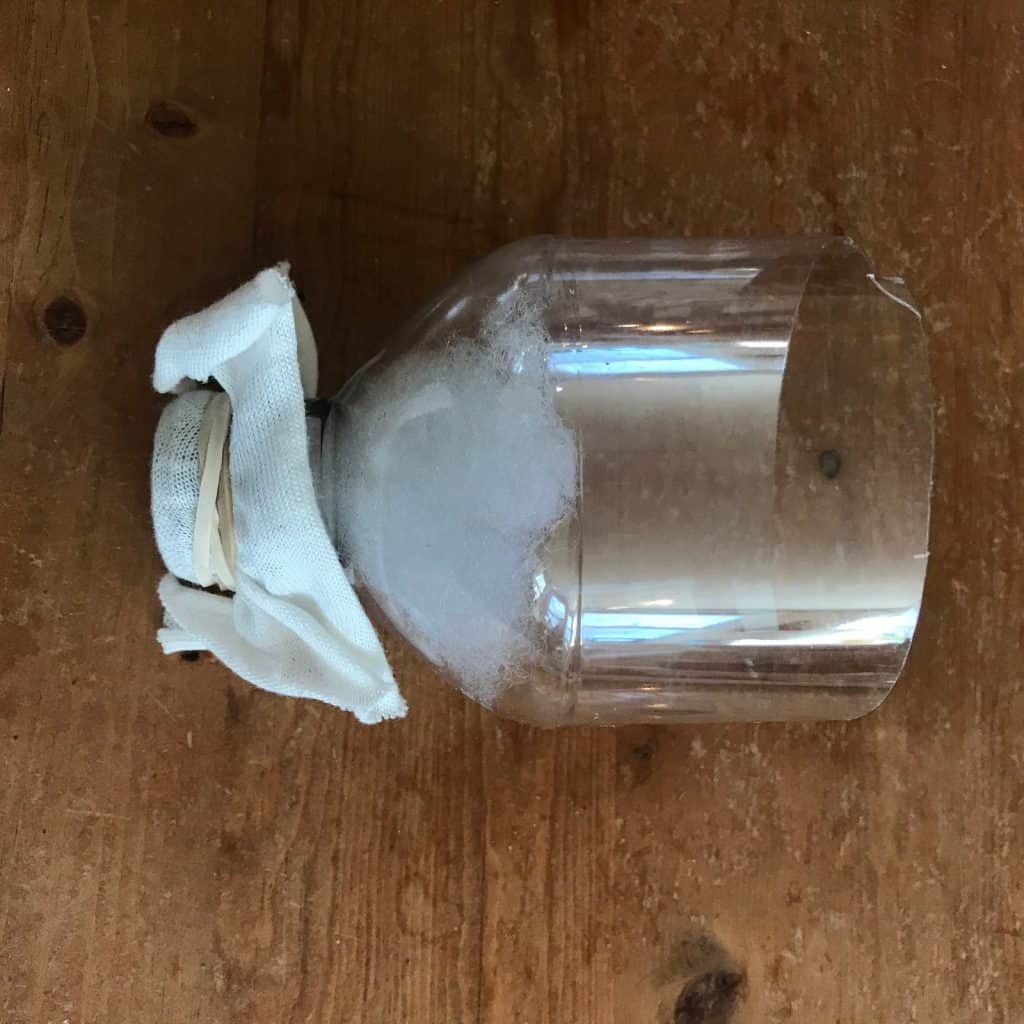
Step 4→ Place the top half of the bottle upside down so that the mouth of the bottle is facing downward into the bottom half, and then pack it tightly with about two centimeters of sand, Be sure to press it down tightly with your fingers.
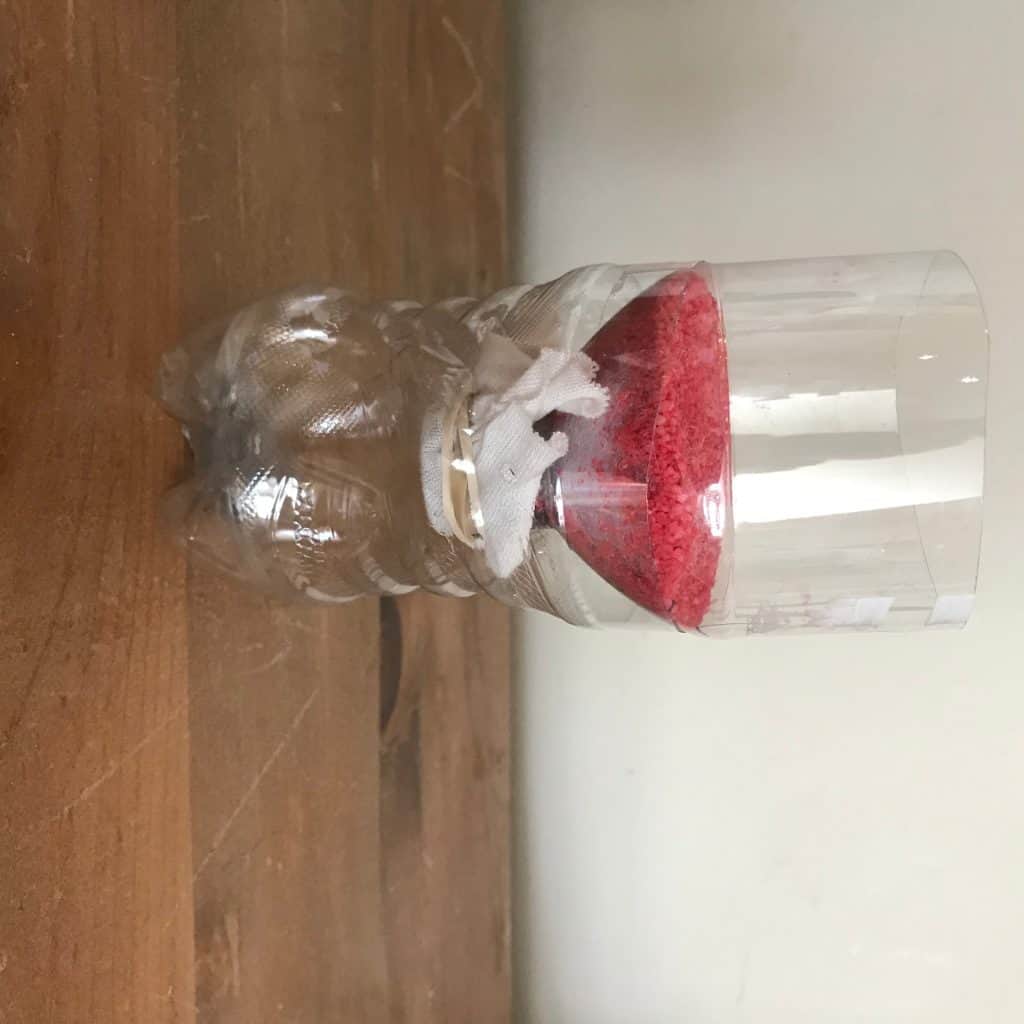
Step 5→ Add approximately one centimeter of the small gravel and press down with your fingers so that it is tightly packed into the bottle.
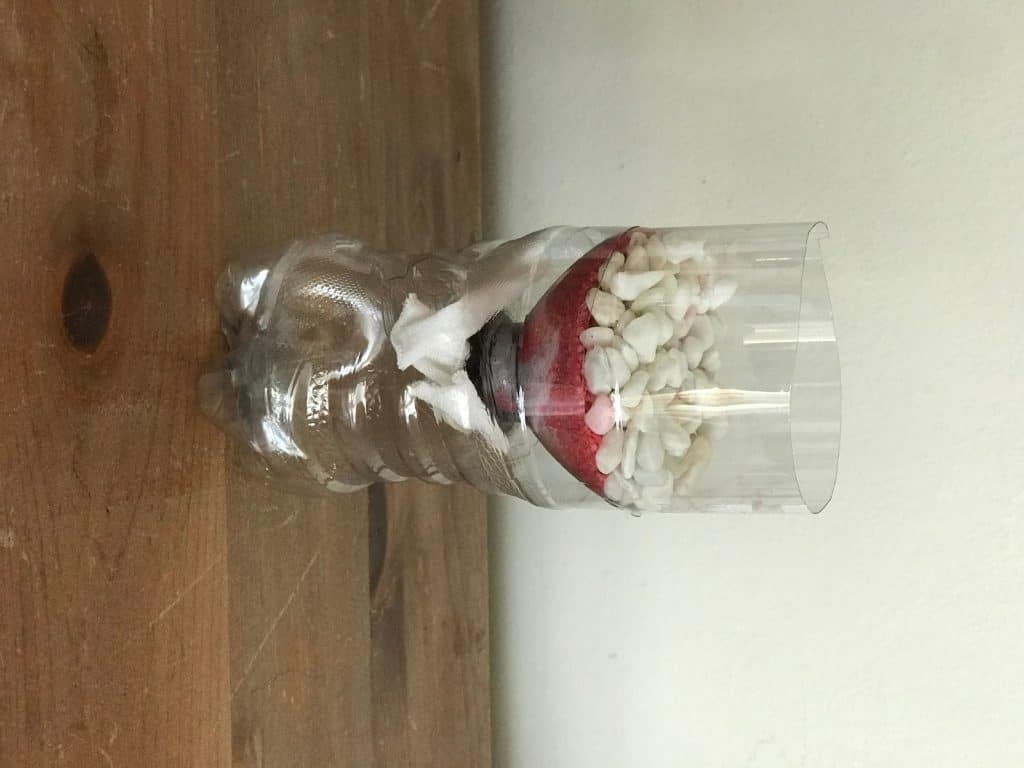
Step 6→ Add in the small pebbles and make sure your layer of pebbles covers the gravel completely.
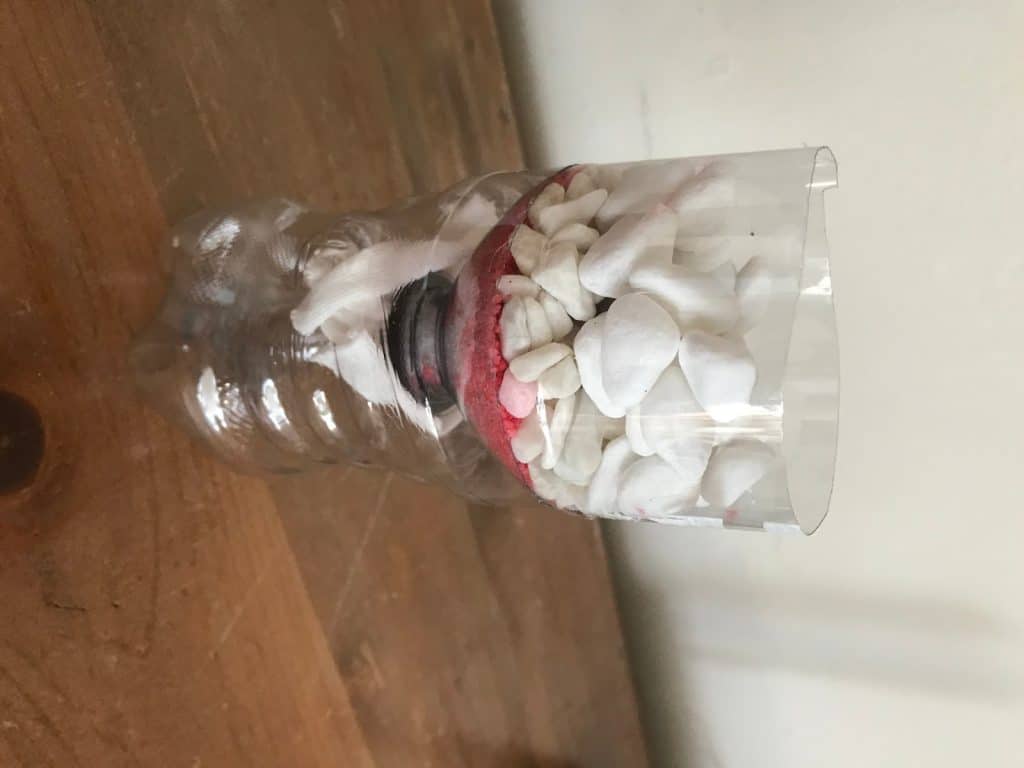
Step 7→ Now your water filtration device is complete! Observe how the gaps between the particles get bigger and bigger with each layer. The more layers you have, the cleaner your water will be.
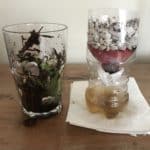
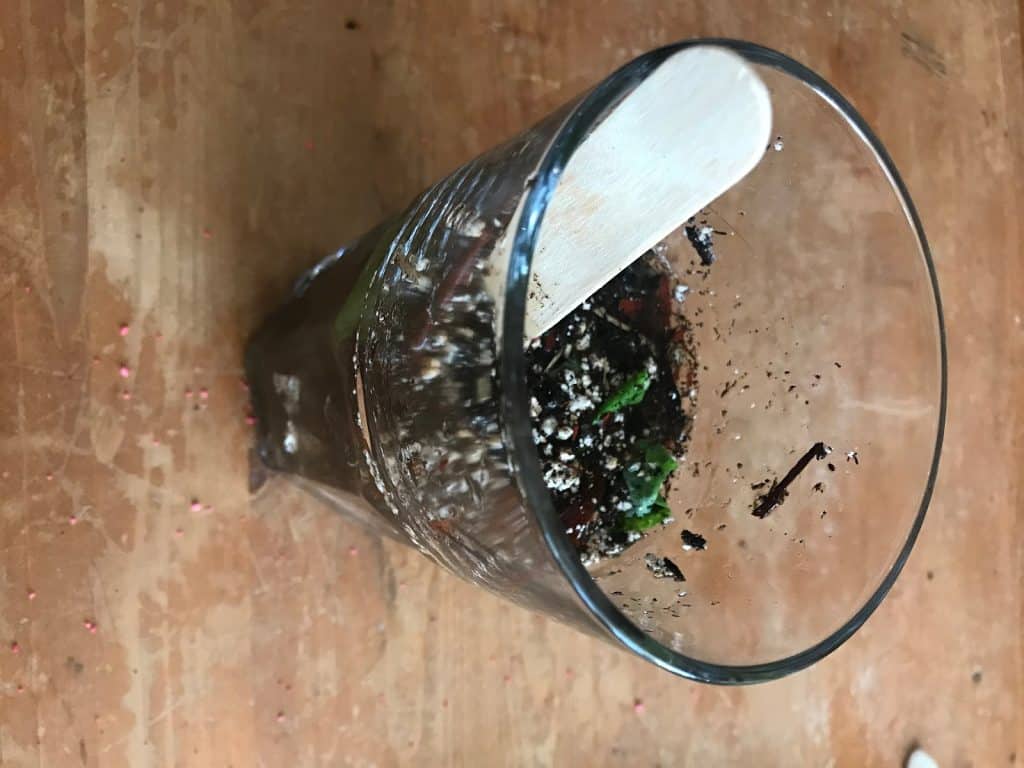
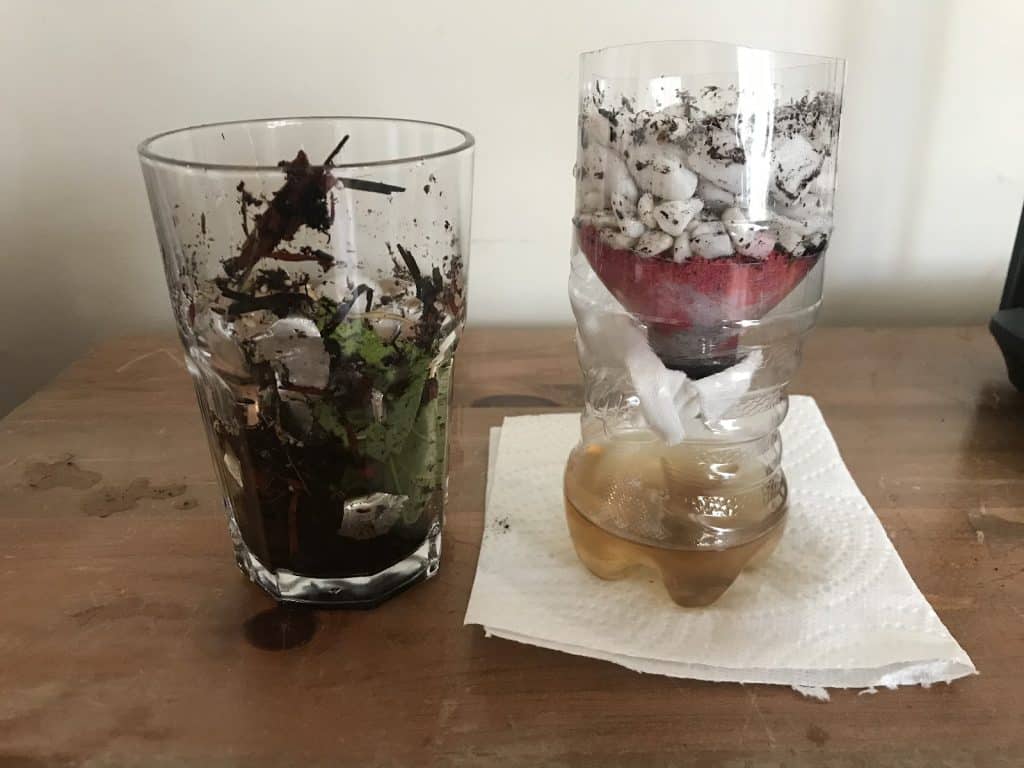
Step 8→ Make your dirty water by filling a cup with soil, leaves, grass, twig, cooking oil, and any other material that would represent things that we would find in dirty and polluted water. Stir your dirty water thoroughly.
Step 9→ Test your water filter by slowly pouring the water onto the pebbles at the top of your filter. Watch the water as it passes through the layers and exits your filter looking much cleaner! Remember that your water is not safe enough to drink, even if it looks clean!
Download Challenge
Follow Up
- Remember, even though you’ve filtered your water, it is not safe enough for you to drink. Water goes through many different processes in addition to filtration. Watch this video to learn more about the drinking water treatment process.
- Try using different materials and compare the results to your current model to see if they filter the dirty water better or worse.
Useful Resources
Share Your Work With Us! We want to see the awesome things you’re all creating with Pinnguaq. Share online with us and tag @pinnguaq on Facebook, Twitter or Instagram for your work to be featured. Don’t forget to include the hashtag #LearnWithPinnguaq! Keep tuning into Pinnguaq for more lesson and fun activities!
You might also like
Using Twine To Explore Environmental Preservation
 Grade 9 – Grade 12
In this lesson students will learn about the impact of climate change on the environment, and create an interactive story using Twine.

Making Space for the Natural Environment
 April 5, 2020
Learn how the Lindsay Makerspace offers opportunity to emphasize the role of technology in supporting environmental stewardship.
Using Twine to Understand our Responsibilities to Mother Earth: Environmental Protection from a Two-Eyed Seeing Perspective
Grade 7 – Grade 12
In this lesson we introduce students to the Two-Eyed Seeing or Etuaptmumk Framework, created by Mi’kmaw Elder Albert Marshall.
